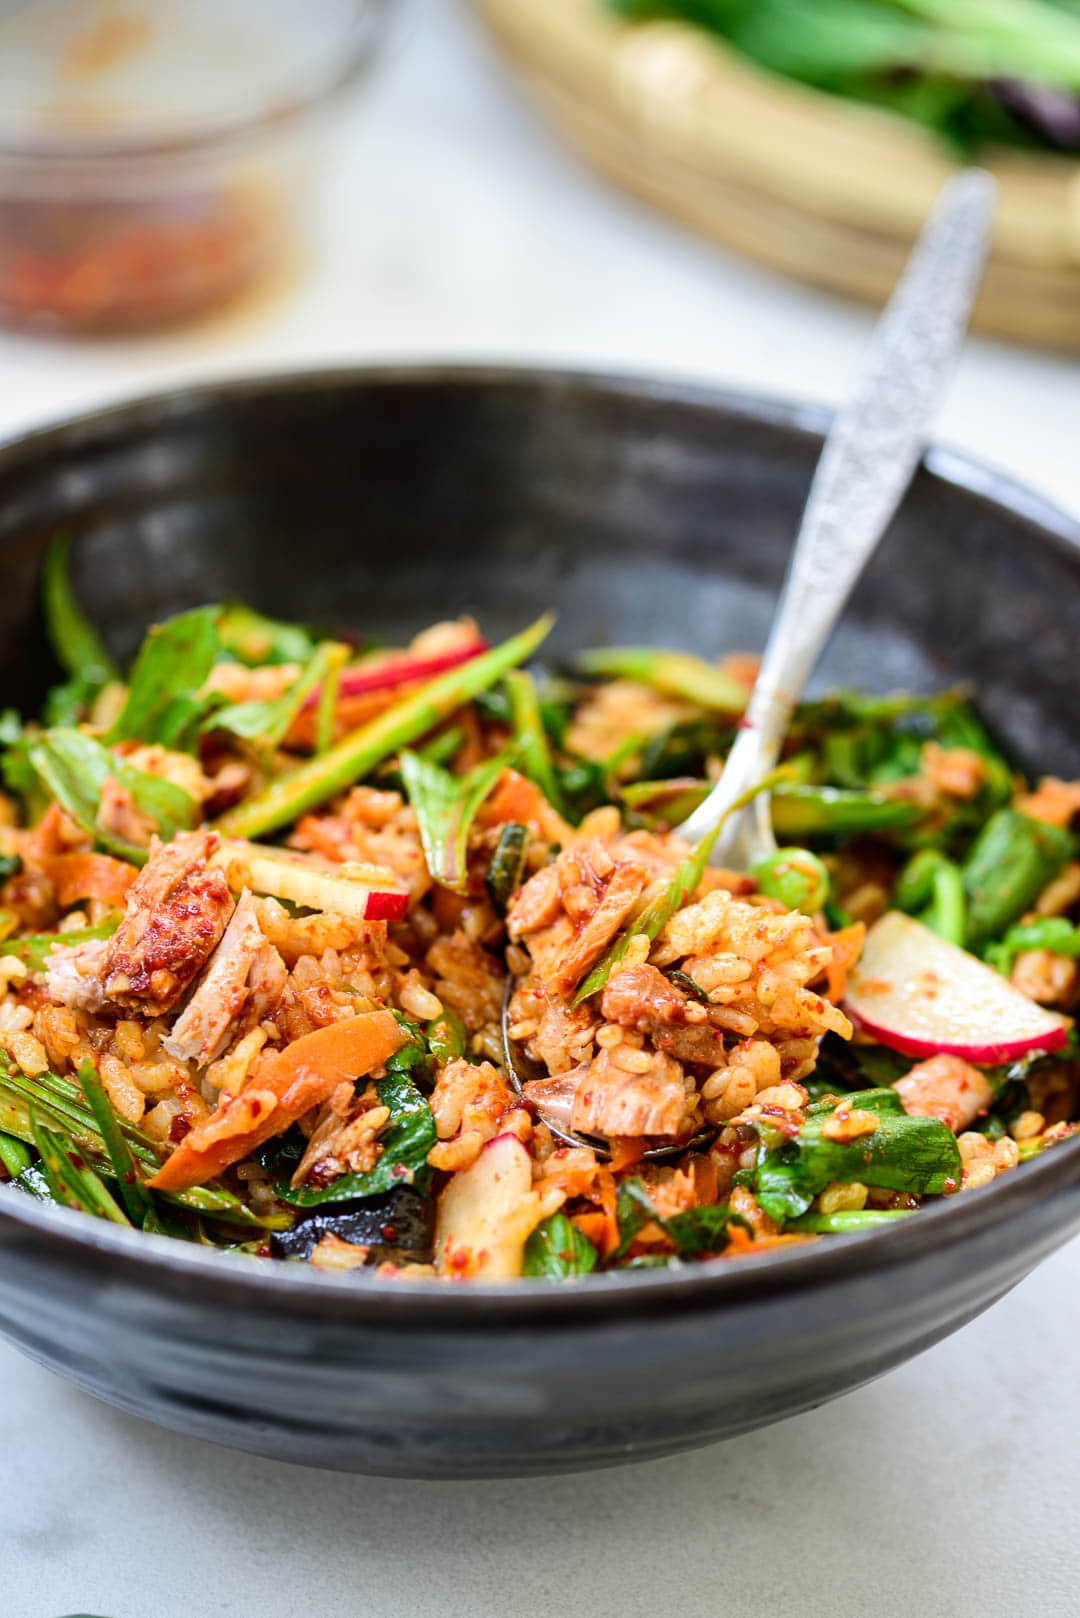
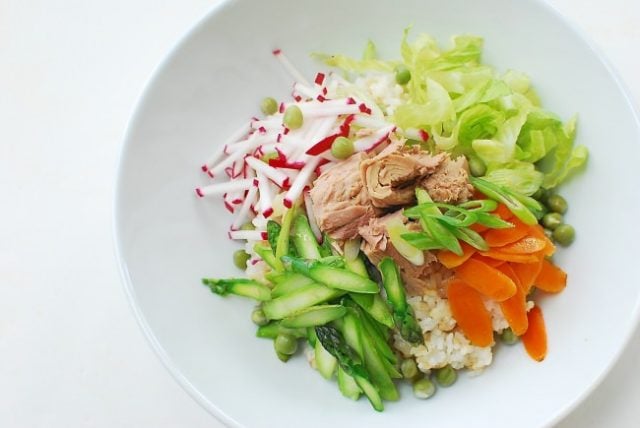
Simple bibimbap made with canned tuna and spring vegetables. Quick, easy and delicious!
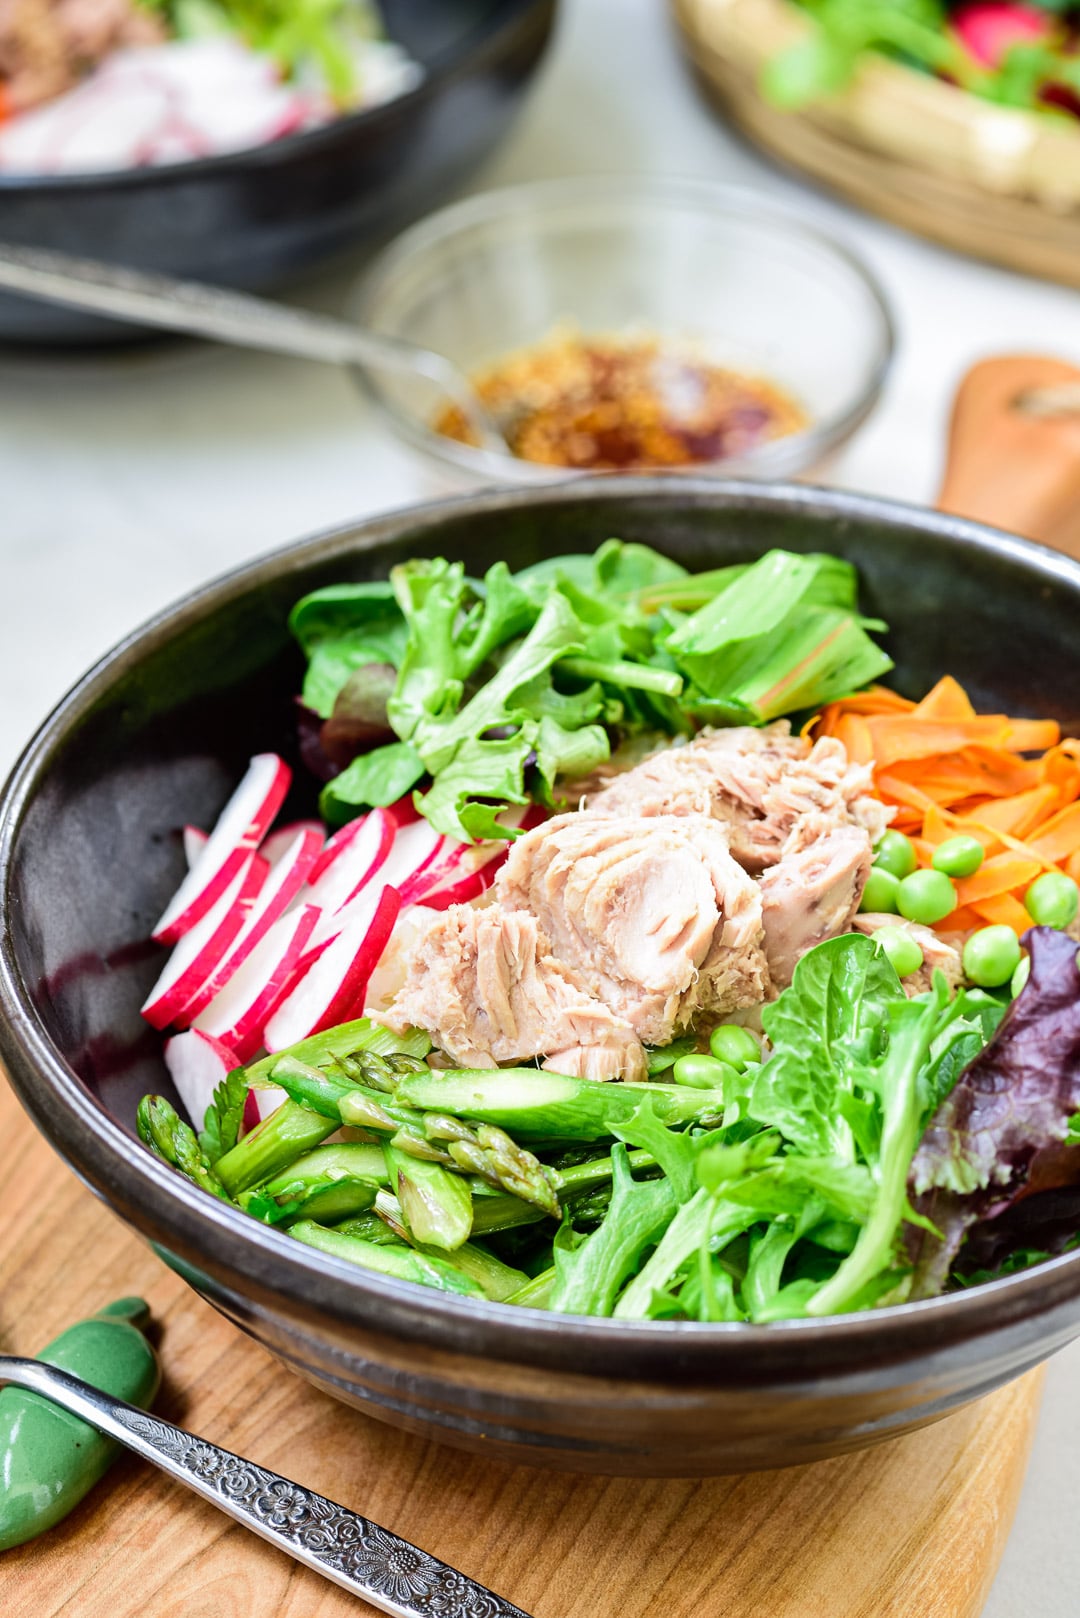
Quick and easy bibimbap, anyone? Bibimbap is a versatile dish, and Koreans make bibimbap with just about anything – leftover side dishes, kimchi, wild mountain vegetables, etc. In spring, vibrant spring vegetables are perfect for bibimbap. I love this simple version made with some of my favorite spring vegetables and canned tuna.
The best part of it is that you don’t need to cook much. In fact, you can definitely make this dish with fresh raw vegetables only and skip the stove entirely.
Hope you enjoy this quick bibimbap recipe for a healthy spring meal!
The vegetables
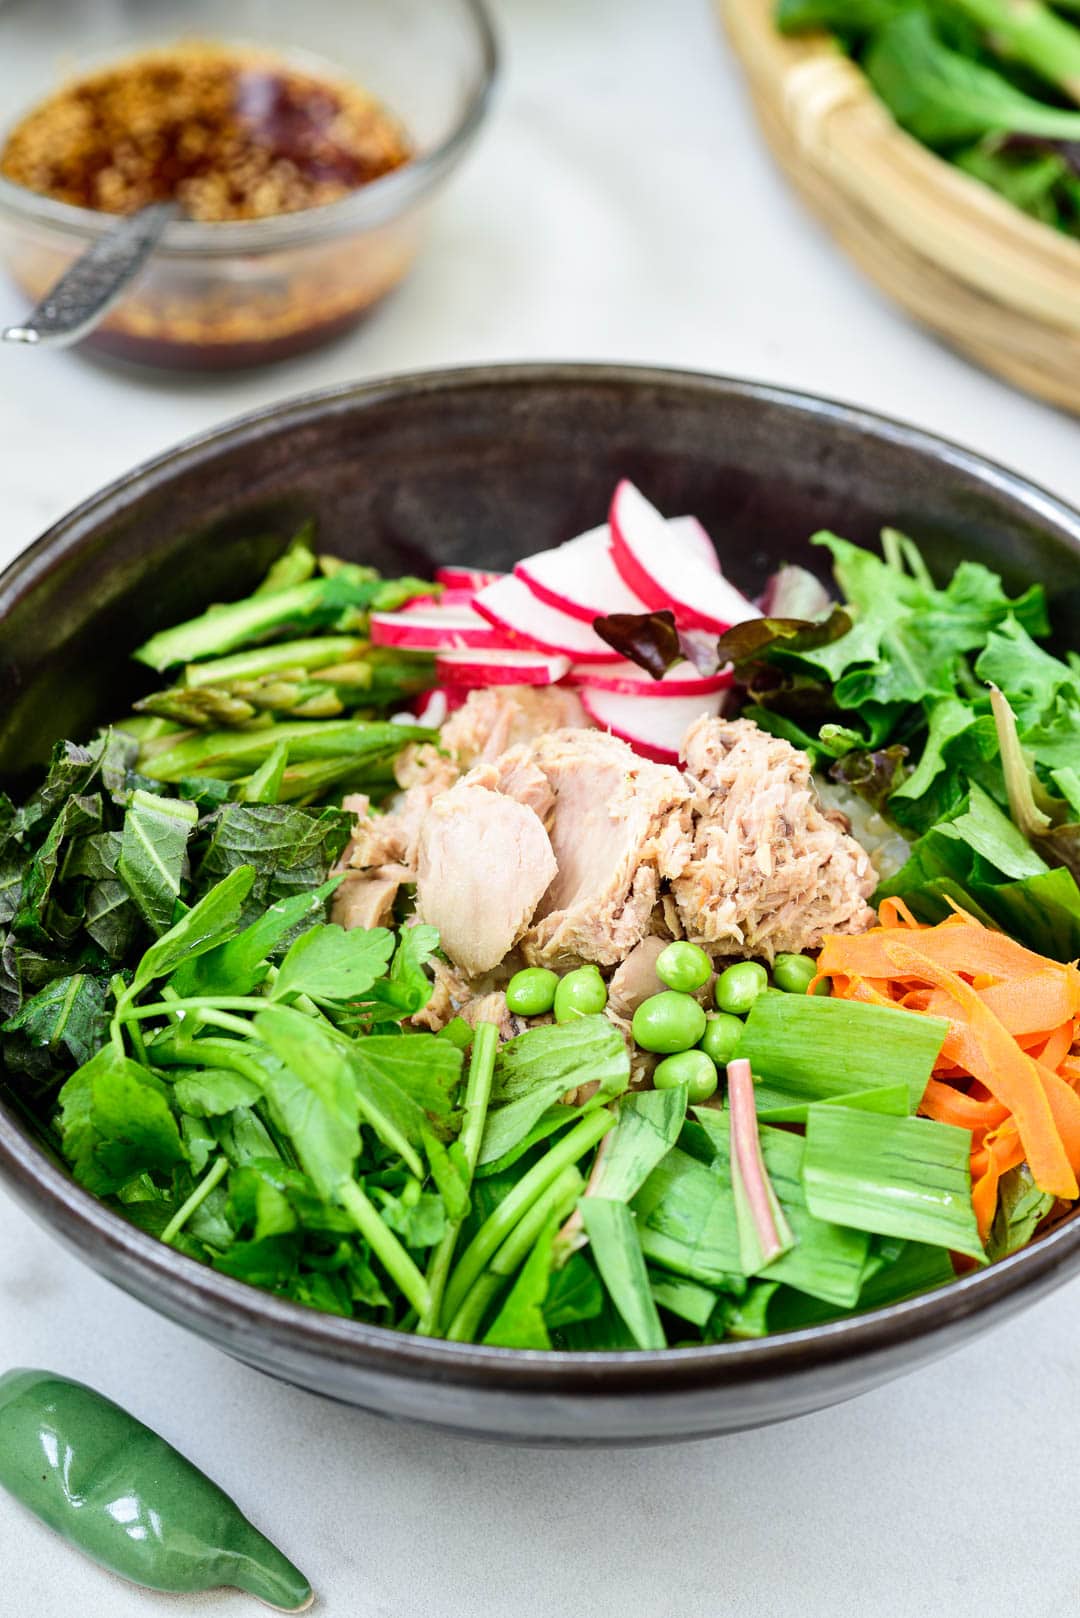
In this recipe, I used asparagus, red radish, fresh green peas, carrot, and spring mix. Feel free to substitute any of the vegetables with your favorite spring vegetables or any other vegetables for that matter.
I sometimes add some Korean vegetables such as minari, buchu, and kkaennip in this bibimbap. Ramps are great as well. The photo below also includes some chopped minari, kkaennip, and ramps.
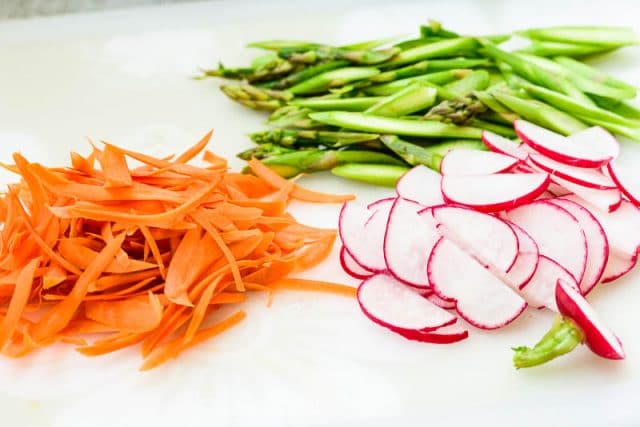
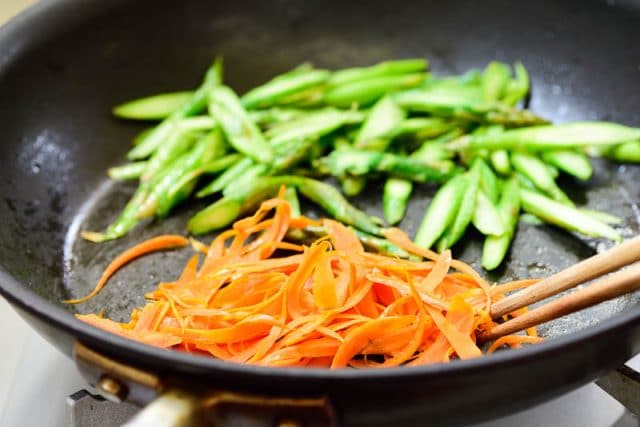
You can simply chop up the leafy vegetables and arrange them on top of the rice. For asparagus and carrots, I thinly sliced and lightly sautéed in a pan. You don’t have to cook them if you like.
The proteins
I love canned tuna for a quick addition of proteins to various dishes such as tuna kimbap, tuna kimchi jjigae, tuna kimchi fried rice, and even in ssamjang. It’s a staple in my pantry. For other variations, try other canned or grilled fish or meat such as salmon and chicken. Tofu is great as well. Top it with a fried egg if you like.
Bibimbap sauce
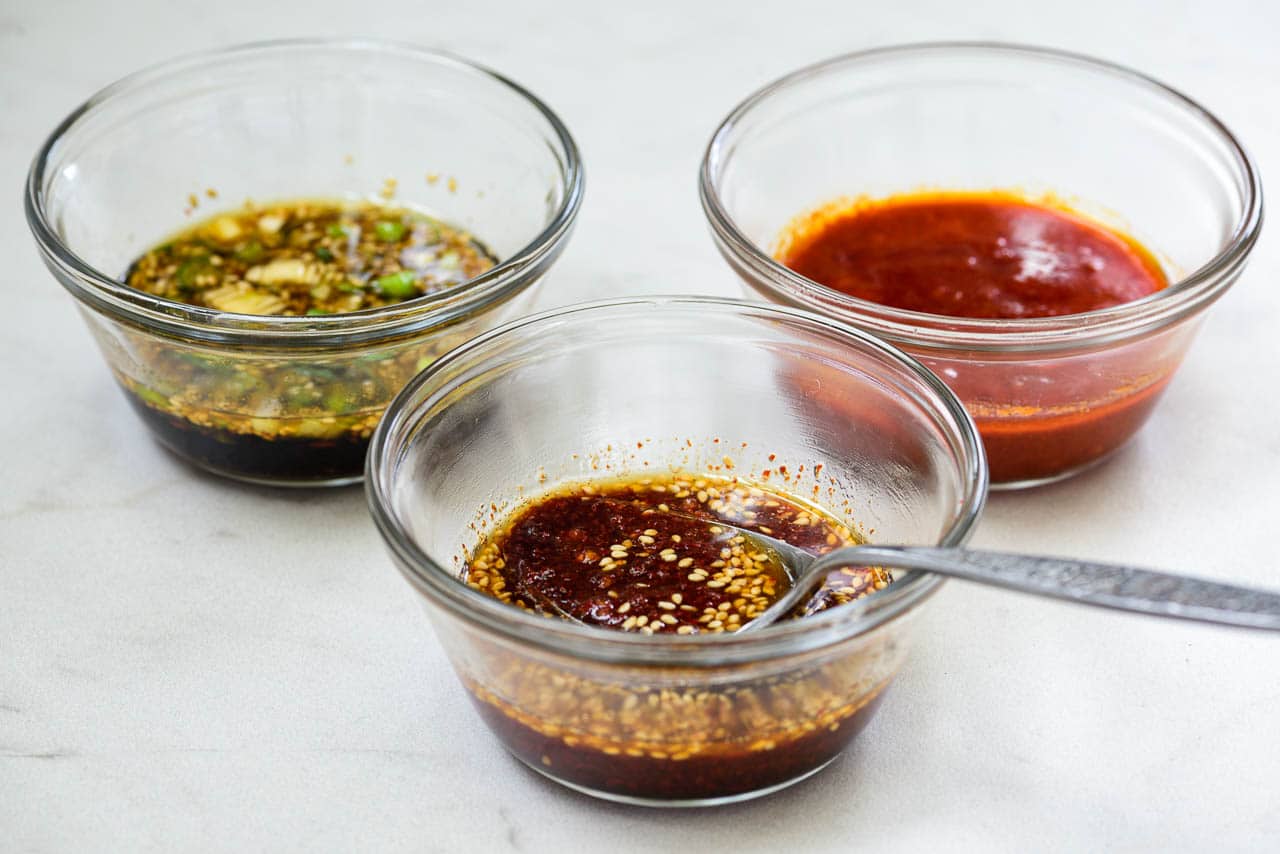
A gochujang (red chili pepper paste) sauce is usually used in traditional bibimbap, but a soy sauce-based sauce works wonderfully well with this dish. You can make it spicy by adding gochugaru, adjust to your taste. I find a little bit of fresh lemon juice is nice for this tuna bibimbap, but you can use a little bit of vinegar instead or omit it.
In this recipe, I’ve included all three options for you to choose from — gochjuang sauce, mild soy based sauce, and spicy soy based sauce.
More bibimbap recipes
For more Korean cooking inspirations, follow along on YouTube, Pinterest, Twitter, Facebook, and Instagram.
Ingredients
- 2 servings of cooked rice
- 3 - 4 asparagus spears
- 1 medium carrot
- about 2 teaspoons vegetable oil
- 2 to 3 lettuce leaves or a handful of spring mix
- 3 - 4 red radishes
- 1/4 cup fresh green peas (or frozen)
- 1 small canned tuna, drained
For the sauce (Choose one of these three) - See note
Spicy soy based sauce:
- 2 tablespoons soy sauce
- 2 teaspoons gochugaru (Korean red chili pepper flakes)
- 1 teaspoon sugar
- 2 teaspoons sesame oil
- 1/2 teaspoon minced garlic
- 1 teaspoon sesame seeds
- 1 teaspoon lemon juice or vinegar (or more to taste)
Mild soy based sauce:
- 2 tablespoons soy sauce
- 1 teaspoon sugar
- 2 teaspoons sesame oil
- 1/2 teaspoon minced garlic
- 1/2 teaspoon sesame seeds
- 1 teaspoon lemon juice or vinegar (or more to taste)
- 1 tablespoon scallion, finely chopped - optional
Gochujang sauce
- 2 tablespoons gochujang, 고추장
- 1 teaspoon sugar
- 2 teaspoons sesame oil
- 2 tablespoons water
- 1 teaspoon lemon juice or vinegar (or more to taste)
- 1/2 teaspoon minced garlic
Instructions
- Mix well all the sauce ingredients of the sauce option(s) you picked and set aside.
- Thinly slice the asparagus, carrots, and red radish into bite size pieces. If the carrot is thick, cut in half lengthwise first and then thinly slice diagonally. Cut the radishes into match sticks. Roughly chop any large green leafy vegetables.
- Cook the peas in salted boiling water until cooked through, 6 - 8 minutes (less if frozen). Heat a lightly oiled pan over medium high heat. Separately sauté the asparagus and then carrots for a minute or two. You can sauté the scallion briefly if you like. The vegetables should be crispy.
- Place a serving of rice in a big bowl. Nicely arrange a small amount of each vegetable and tuna over the rice. Serve with the sauce.
Notes
This recipe was originally posted in May 2013. I’ve updated it here with new photos, more information, and minor changes to the recipe.


