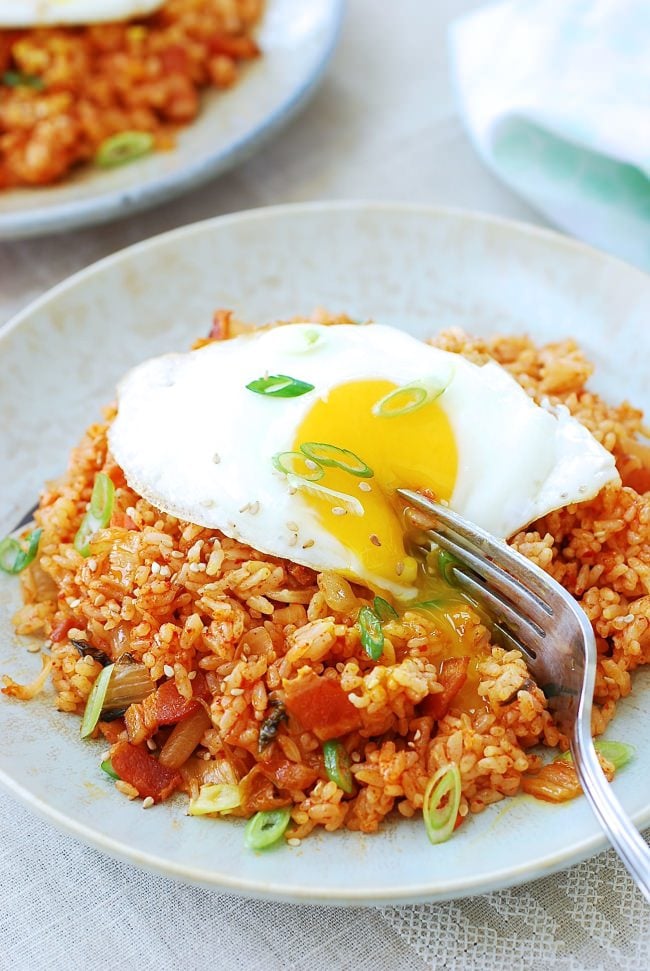
If you have some kimchi and rice, try this easy kimchi fried rice recipe! It’s so versatile that you can add any protein you like or omit it entirely. It’ll become one of your go-to easy meals.
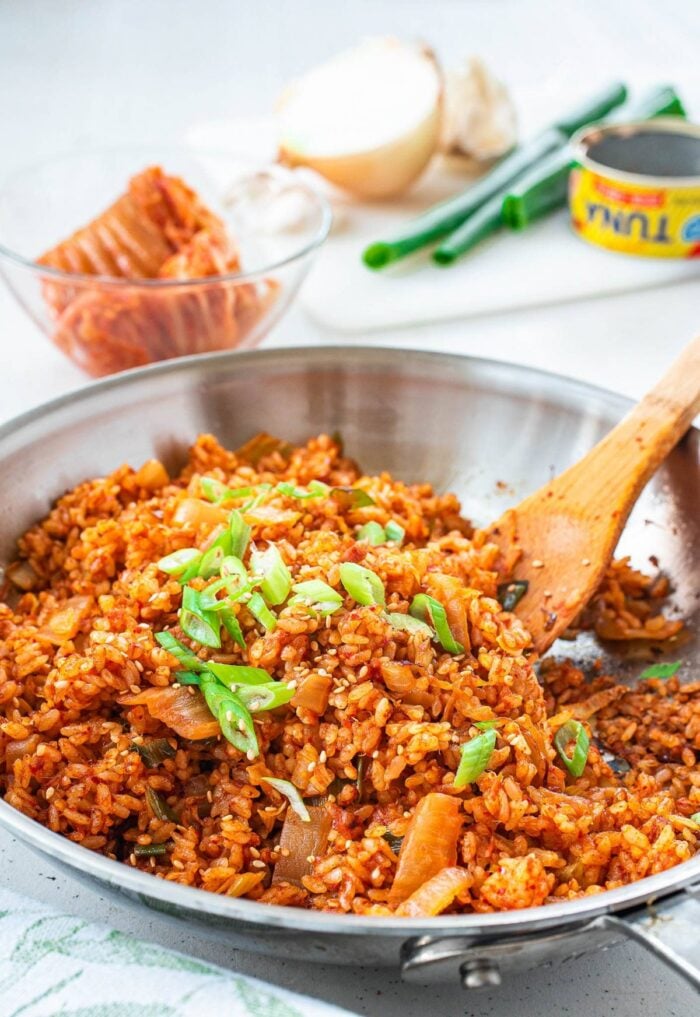
What is kimchi fried rice?
Kimchi fried rice (kimchi bokkeumbap, 김치볶음밥) is a humble Korean dish made basically with kimchi and leftover rice. Since Korean homes almost always have these two staples, kimchi fried rice is a favorite go-to meal whenever there seems to be nothing to eat at home.
It’s especially popular among young people who are living on a low budget as it is a quick-fix meal, inexpensive to prepare, yet delicious and filling.
All you need is well fermented kimchi and some cooked rice! We typically use baechu (napa cabbage) kimchi for fried rice, but old radish kimchi such as kkakdugi or chongak kimchi, works well too. Kimchi has plenty of flavors, but it’s common to add some gochujang, soy sauce and/or gochugaru for more robust savory flavors and spiciness.
Popular protein additions by Koreans include processed meat, such as bacon, ham, sausage, or spam, as well as canned tuna. You can also cooked or uncooked chicken, pork, beef or shrimp, so feel free to experiment once you’ve got a hang of the basic technique.
For a vegan option, substitute the meat with tofu or omit it. Use vegan kimchi and skip the egg.
The Rice
Koreans typically use short grain white rice for everyday use. However, any other rice you’d use for fried rice, including brown rice and mixed grain rice, is fine for this recipe as well.
As with any fried rice, day old rice is best to use, if available. The rice can get hard after being in the fridge. Heat it up in the microwave to soften it a little and break it up before stir-frying with kimchi.
You can, of course, make fresh rice for this dish. Simply use a little less water than the usual amount to make the rice slightly drier and cool before using.
How to make kimchi fried Rice
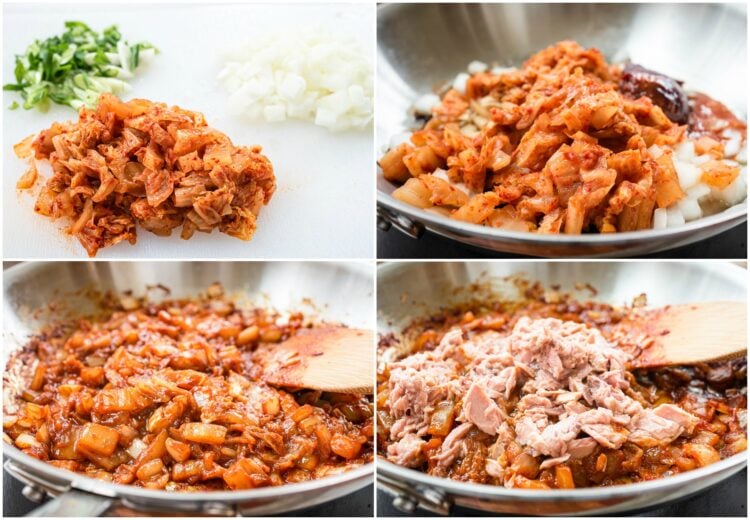
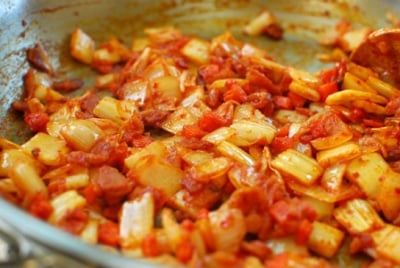
The basic technique involves stir-frying the kimchi typically with some aromatic vegetables and seasonings until the kimchi turns soft and deep in color. This step brings out rich flavors of the kimchi.
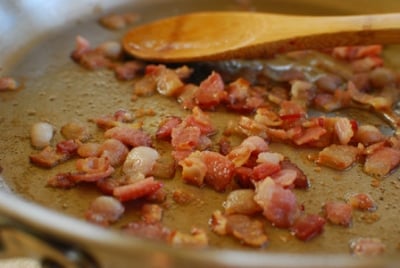
If you’re using uncooked meat, cook the meat before stir-frying with the kimchi. It doesn’t need to be completely cooked through. When I use bacon, I cook it until it turns slightly brown and crispy.
It’s much faster if you use cooked meat or canned tuna (drained). Simply throw it in while the kimchi is being stir-fried.
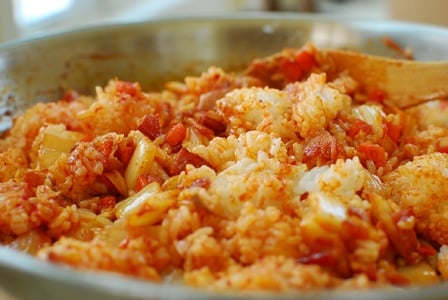
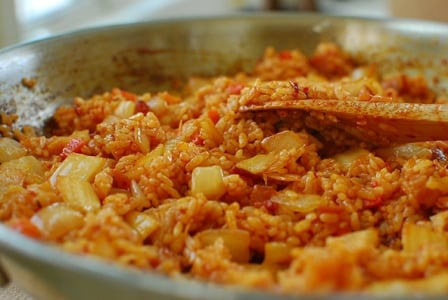
After adding the rice to the pan, stir constantly over medium low heat, breaking up the rice clumps, until everything is well incorporated. This will keep rice from sticking to the pan too much. Once the rice is evenly coated with the seasoning, turn up the heat high and stir only occasionally so the rice can get nicely toasted.
Tips for making good kimchi fried rice
- Whenever you cook with kimchi, it is best to use well-fermented kimchi for the rich and robust flavor it develops. No exception here.
- If the leftover rice is hard after being in the fridge, heat it up in the microwave to soften it a little and break it up before stir-frying with the kimchi mix.
- If you are using raw meat, season it with salt and pepper. A small amount of garlic and/or ginger to flavor the meat will be great too. Cook the meat before stir-frying with the kimchi.
- To make it spicier, add gochugaru instead of more gochujang. Too much gochujang will make the dish too salty.
- Use high heat to cook the kimchi, medium low heat while breaking up the rice clumps to keep the rice from sticking to the pan too much, and high heat to get the rice nicely toasted at the end.
For more Korean cooking inspirations, follow along on YouTube, Pinterest, Twitter, Facebook, and Instagram.

Ingredients
- 3 (or 4) strips of bacon, diced (or about 4 ounces ham or spam, or 1 can of tuna, drained) See note 1 if using uncooked meat
- 3/4 cup diced kimchi See note 2
- 1/4 small onion, diced
- 1 scallion, chopped
- 1 small carrot, finely chopped - optional
- 3 tablespoons (or 4) juice from kimchi, if available
- 1 tablespoon soy sauce
- 1 tablespoon gochujang (Korean chili pepper paste) See note 3
- 2.5 cups cooked rice See note 4
- oil for stir-frying
- 1/2 tablespoon sesame oil
- salt and pepper to taste
Optional
- 1 teaspoon sesame seeds
- 2 eggs, fried to taste
- 1 sheet roasted gim (dried seaweed sheet)
Instructions
- If using bacon, heat a lightly oiled large skillet over medium heat. Add the bacon pieces. Cook until the bacon is slightly browned. If you don't want all the rendered fat, remove it from the pan and add a couple of tablespoons of cooking oil. If using ham, spam or canned tuna instead of bacon, you can simply add it while stir-frying kimchi in step 2.
- Add the onion and scallion and stir-fry quickly over high heat. Add the kimchi, optional carrots, juice from kimchi, soy sauce and gochujang. Stir fry until the kimchi turns soft and deep in color, 3 to 4 minutes. Take the time to do this step so the rich flavors develop.
- Add the rice, and reduce the heat to medium low. Stir until everything is well incorporated and the clumped up rice is broken up, 3 to 4 minutes.
- Once the rice is evenly coated with the seasoning, turn up the heat high and continue to fry the rice, turning occasionally. Add salt and pepper to taste. Mix in the sesame oil and the optional sesame seeds at the end.
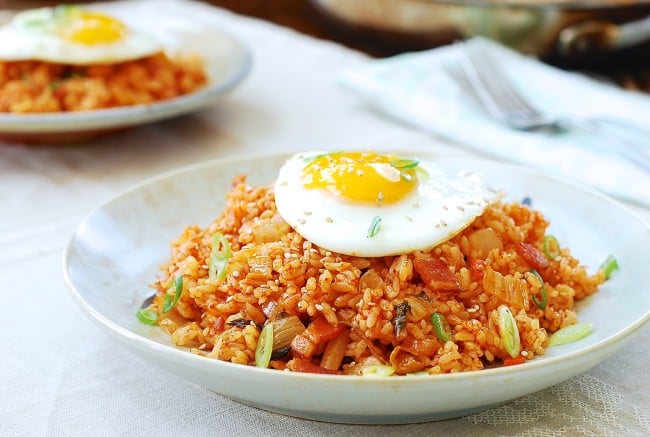
- Top with the optional fried egg, and garnish with the optional sesame seeds, gim (dried seaweed) strips and/or chopped scallion and serve.
Notes
- If you are using raw meat, season it with salt and pepper. A small amount of garlic and/or ginger to flavor the meat will be great too. Cook the meat before stir-frying with the kimchi.
- Whenever you cook with kimchi, it is best to use well-fermented kimchi for the rich and robust flavor it develops. No exception here.
- For spicier fried rice, add gochugaru instead of more gochujang. Too much gochujang will make the dish too salty.
- If the leftover rice is hard after being in the fridge, heat it up in the microwave to soften it a little and break it up before stir-frying with the kimchi mix.
This recipe was originally posted in December 2010. I’ve updated it here with new photos, more information and minor changes to the recipe.


