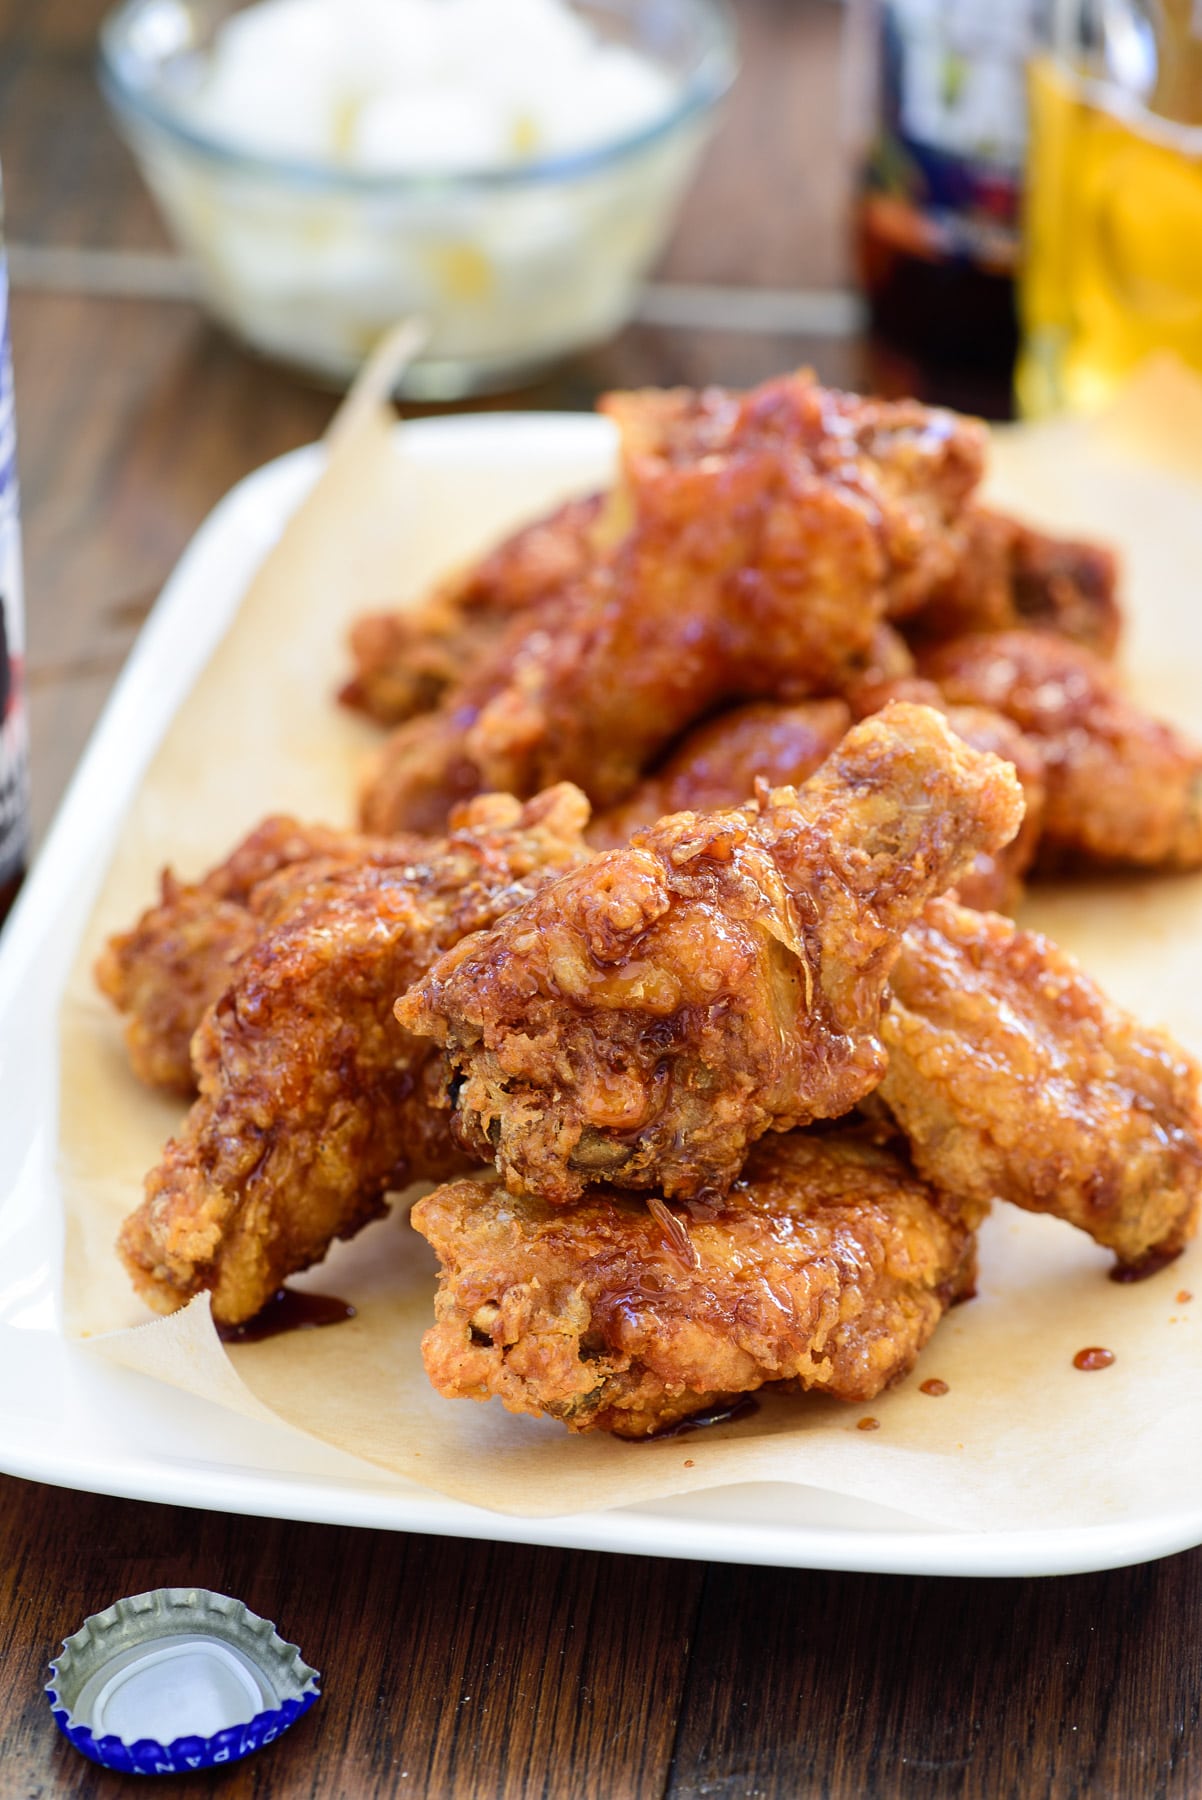
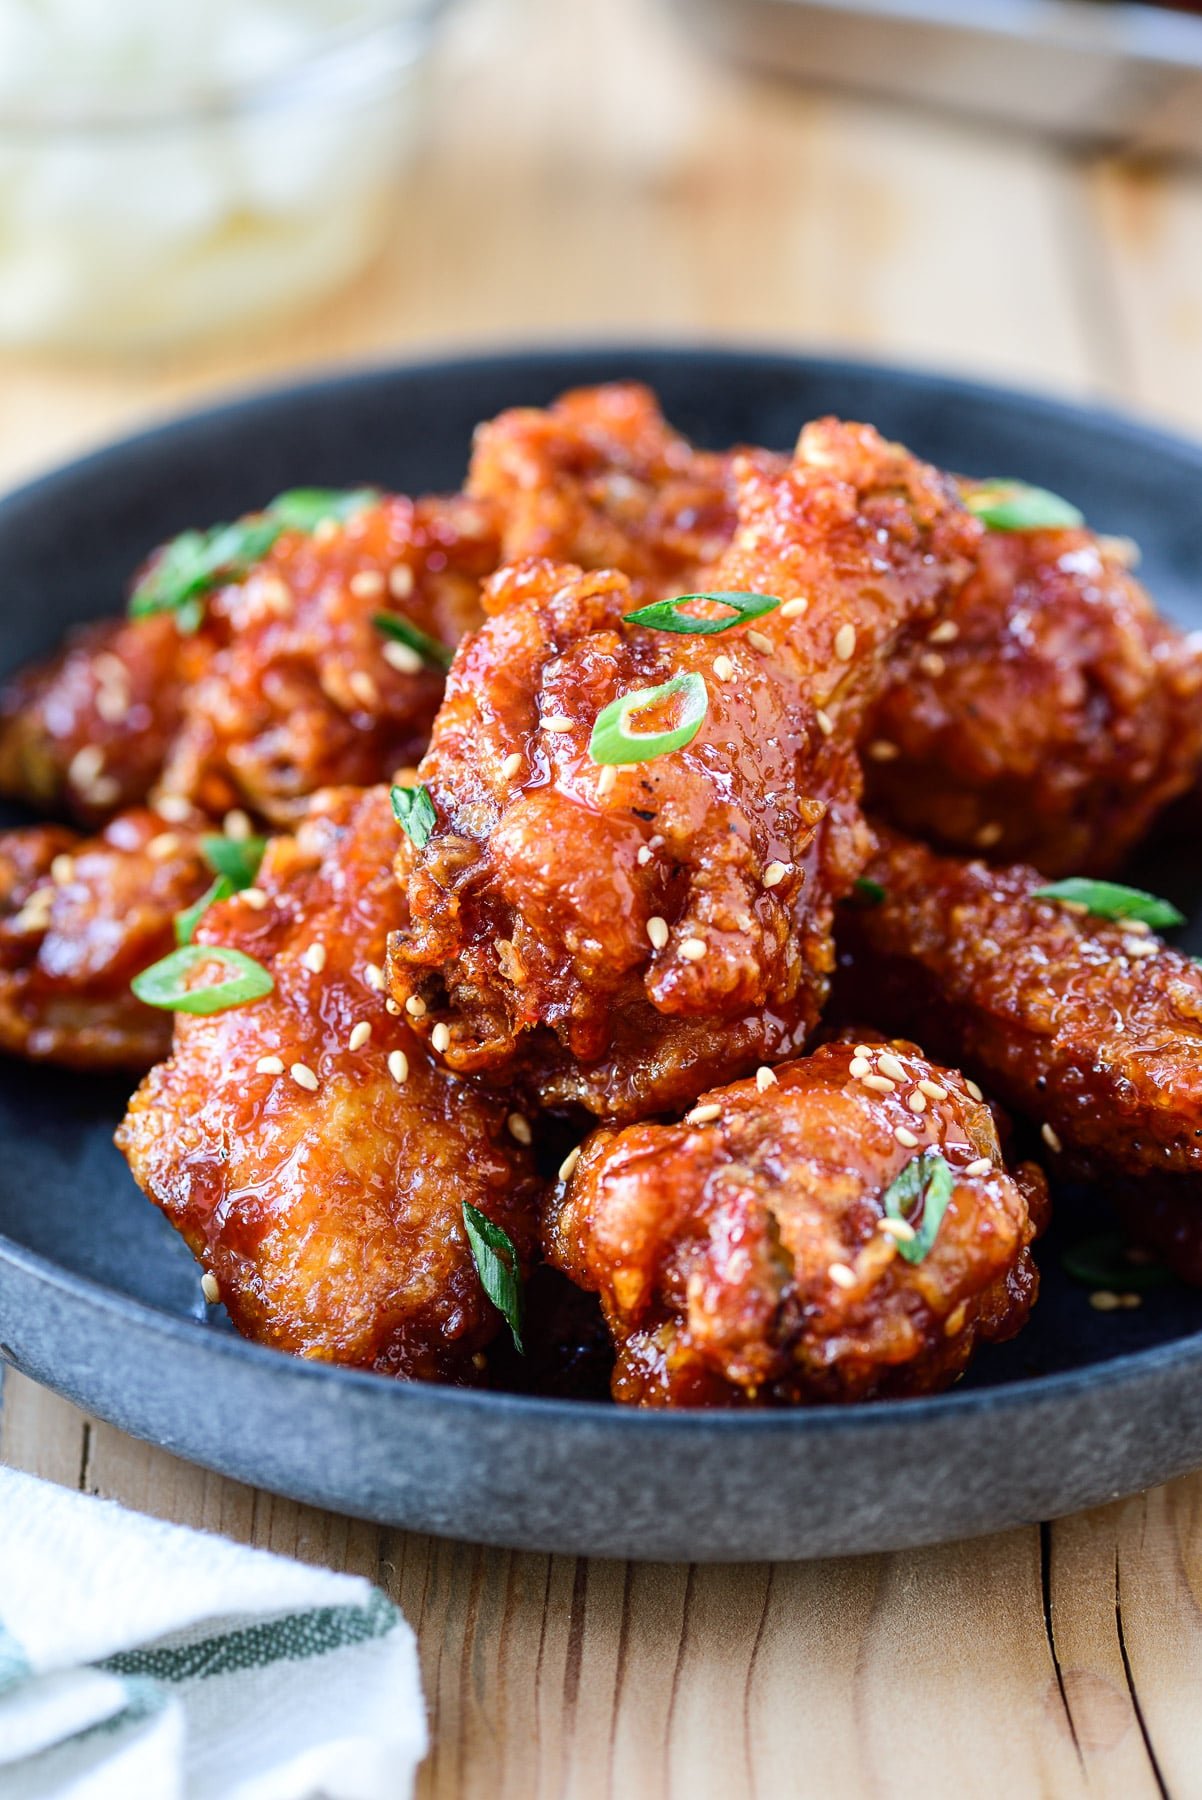
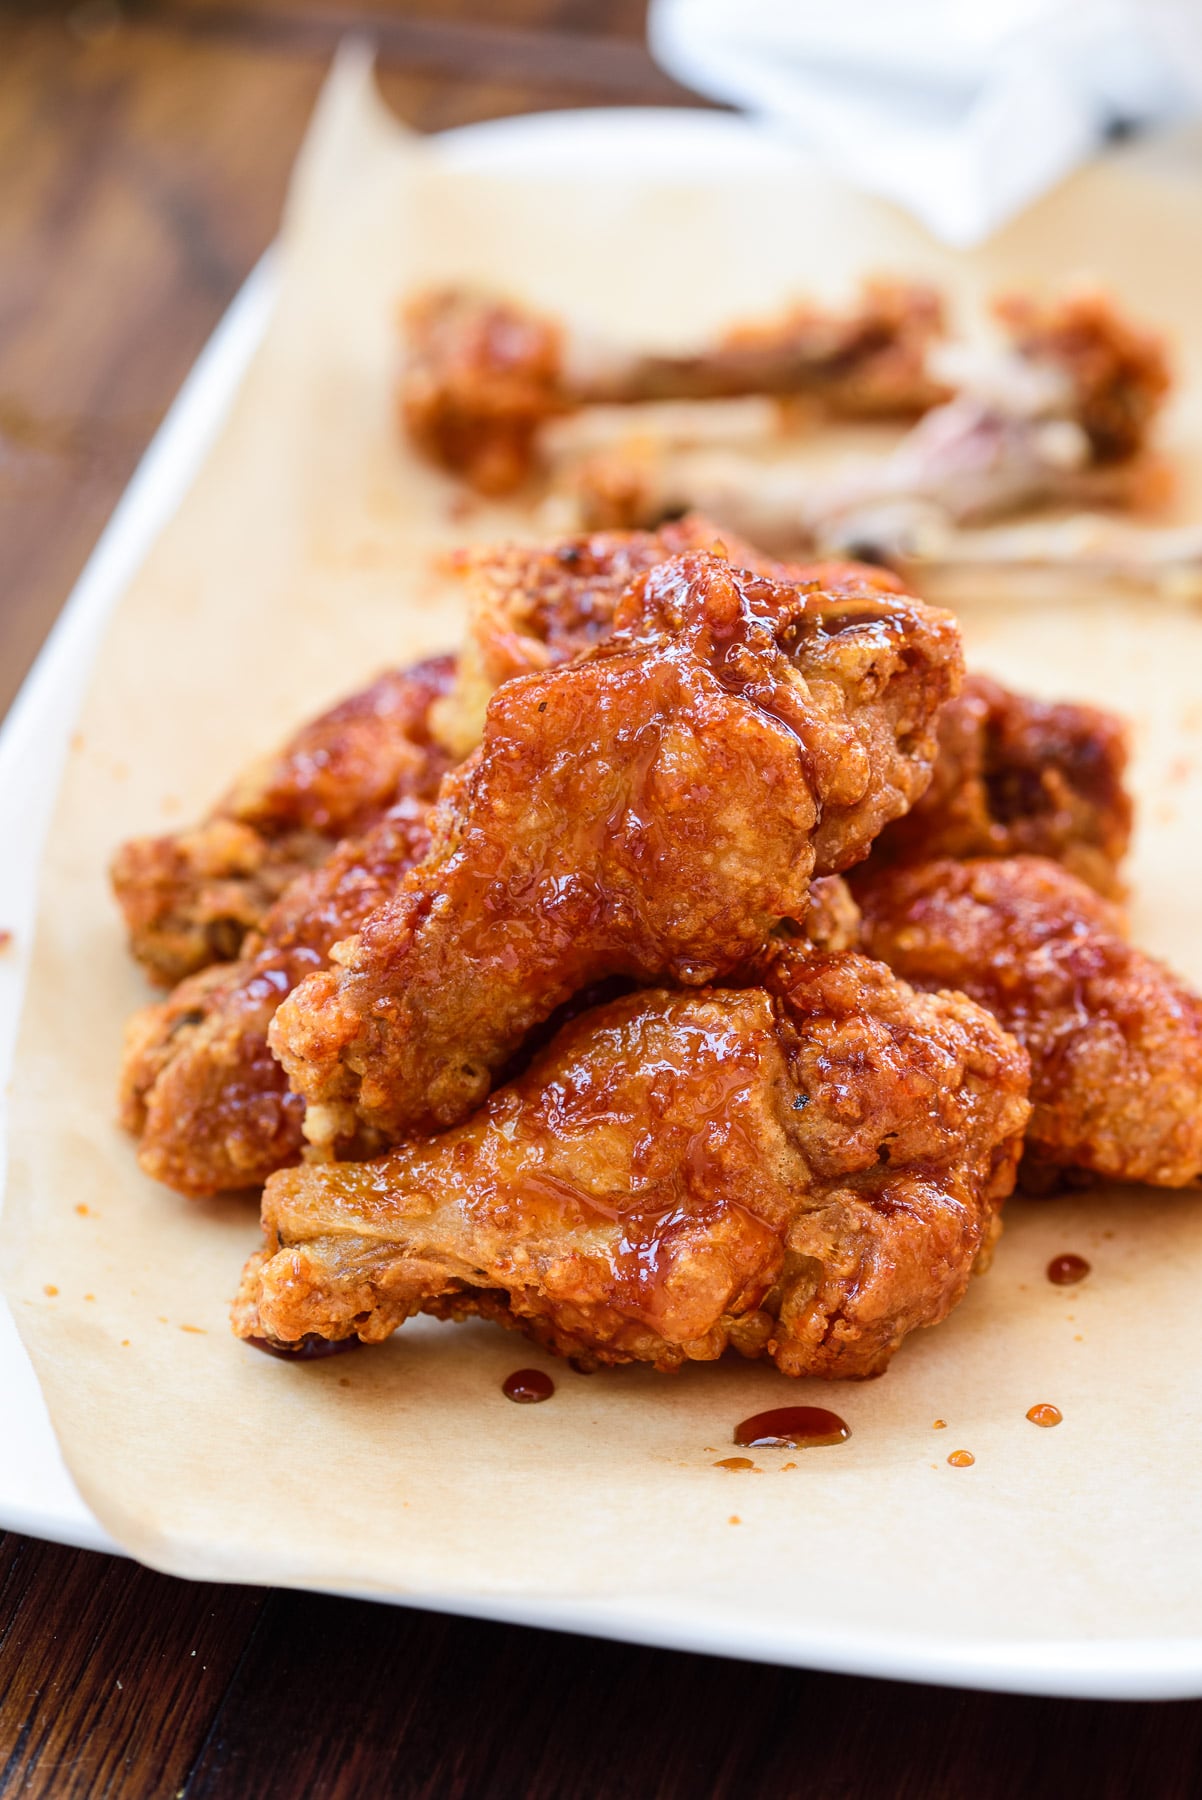
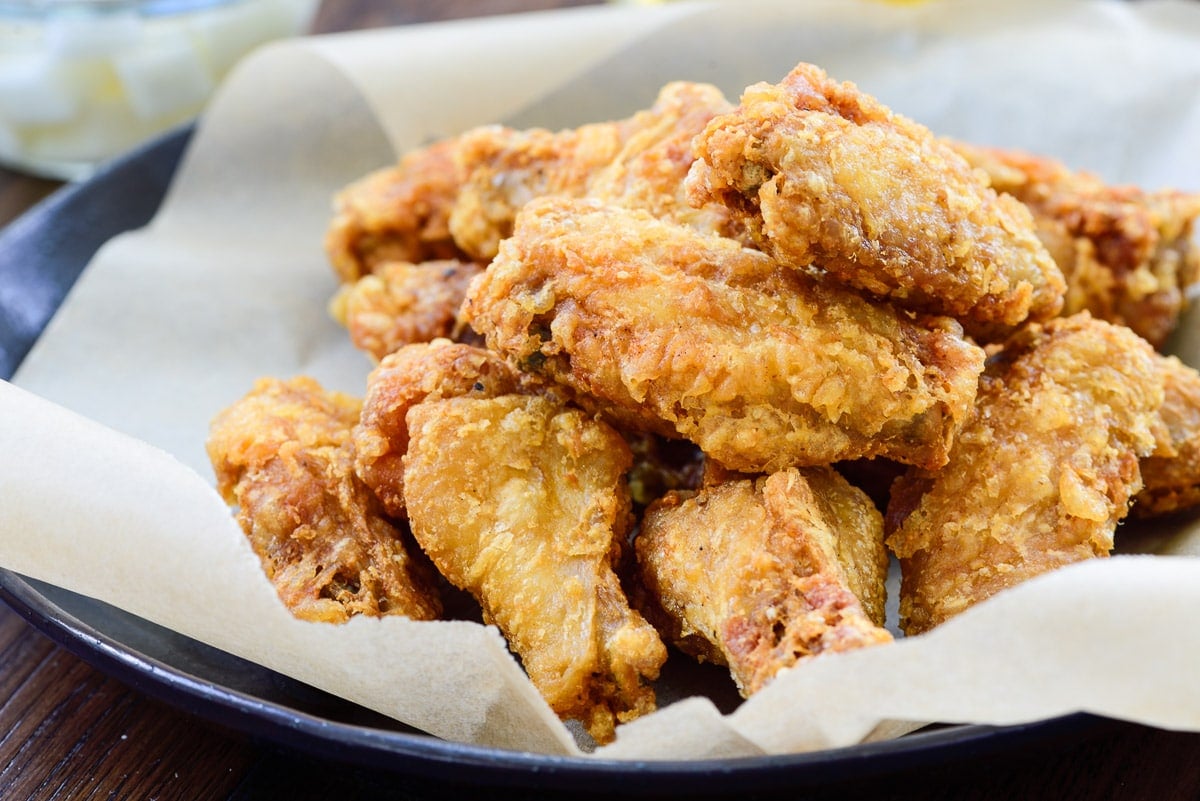
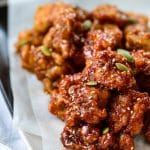
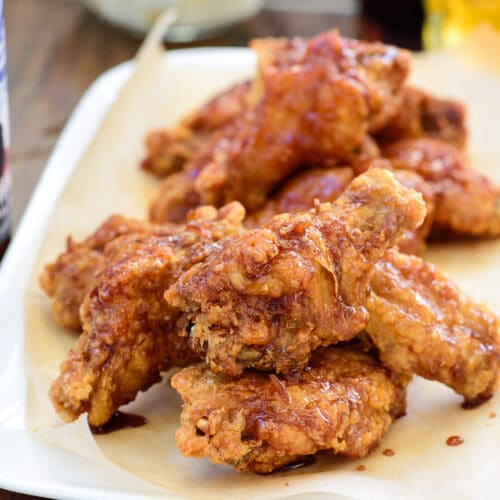
Korean fried chicken with a thin, crackly crust that’s glazed with a delicious soy garlic or red spicy sauce!
I know you’re reading this because you love Korean fried chicken! It’s such a culinary pleasure to bite through the well-seasoned, crunchy crust that reveals juicy chicken underneath. This Korean fried chicken recipe will give you that thin, crispy and crunchy crust along with two delicious sauce options — soy garlic and red spicy sauce!
Also known as “the other KFC,” Korean fried chicken is highly popular in and outside of Korea. Over the last three or four decades, the Korean fried chicken industry has grown exponentially. There are fast food fried chicken chains and mom-and-pop places in uncountable numbers, each with their own techniques, secret ingredients and variations.
Among many delicious variations of fried chicken in Korea, yangnyeom chicken is one of the most popular ones. Literally meaning “seasoned chicken,” yangnyeom chicken is fried chicken smothered in a spicy red sauce. The ingredients used in yangnyeom sauce vary widely, including gochujang, ketchup, hot sauce, strawberry jam, etc. It started out being thick and heavy, but the current trend is a thinner, lighter sauce.
In Korea, Gyochon Chicken is the biggest fried chicken chain, while Bonchon is the best known Korean fried chicken chain in the U.S. Both are famous for their thin, crackly crust and two types of glazes — soy garlic and red spicy.
This Korean fried chicken recipe is my take on Gyochon and Bonchon style fried chicken.
As I mentioned in my dakgangjeong recipe, another popular type, fried chicken is often enjoyed with beer, and that combination is called ChiMaek (치맥), chi from chicken (치킨) and maek from maekju (맥주, the Korean word for beer). It’s a relatively new term that reflects the casual dining and drinking culture.
The chicken
For this recipe, I used chicken wings, separated into drumettes and wingettes/flats, but any small cut(s) of chicken works. In Korea, it’s common to cut up a small sized whole chicken for frying.
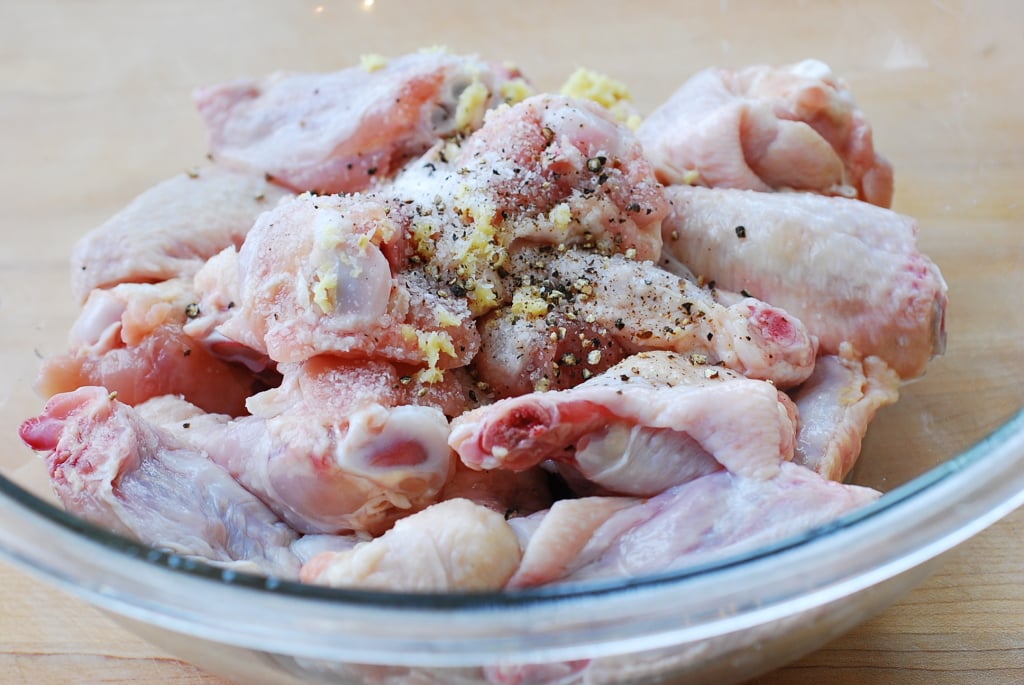
It’s common in Korea to brine the chicken in a flavorful solution for a day or two. I simply season the chicken with a little bit of salt, pepper and ginger. For best results, let it sit for 2 hours or longer (overnight to 24 hours) in the fridge.
The batter
Dry or wet batter? In my old recipe, I simply used potato starch (or cornstarch). It’s a simple way to create a thin, crispy and crunchy crust. You can still do that if you like, using 1/2 cup cornstarch or potato starch and rubbing it well on to each chicken piece. It’s a gluten free option. I included this as Batter option 1 in the recipe card.
However, in Korea, fried chicken is more commonly made with wet batter. Some people simply use frying mix (aka tempura mix) to make wet batter, and there’s even frying mix specifically made for chicken. Some use a combination of frying mix and starch to add extra crunch. Frying mix usually is seasoned and contains baking powder, so you can create it with all-purpose flour if you don’t have frying mix. I’ll add a note in the recipe card as to how you can modify all-purpose flour for this recipe.
I’ve experimented with different ratios and settled with a 2 to 1 ratio of frying mix to starch, which is 1/2 cup frying mix and 1/4 cup potato starch (or cornstarch) for this recipe.
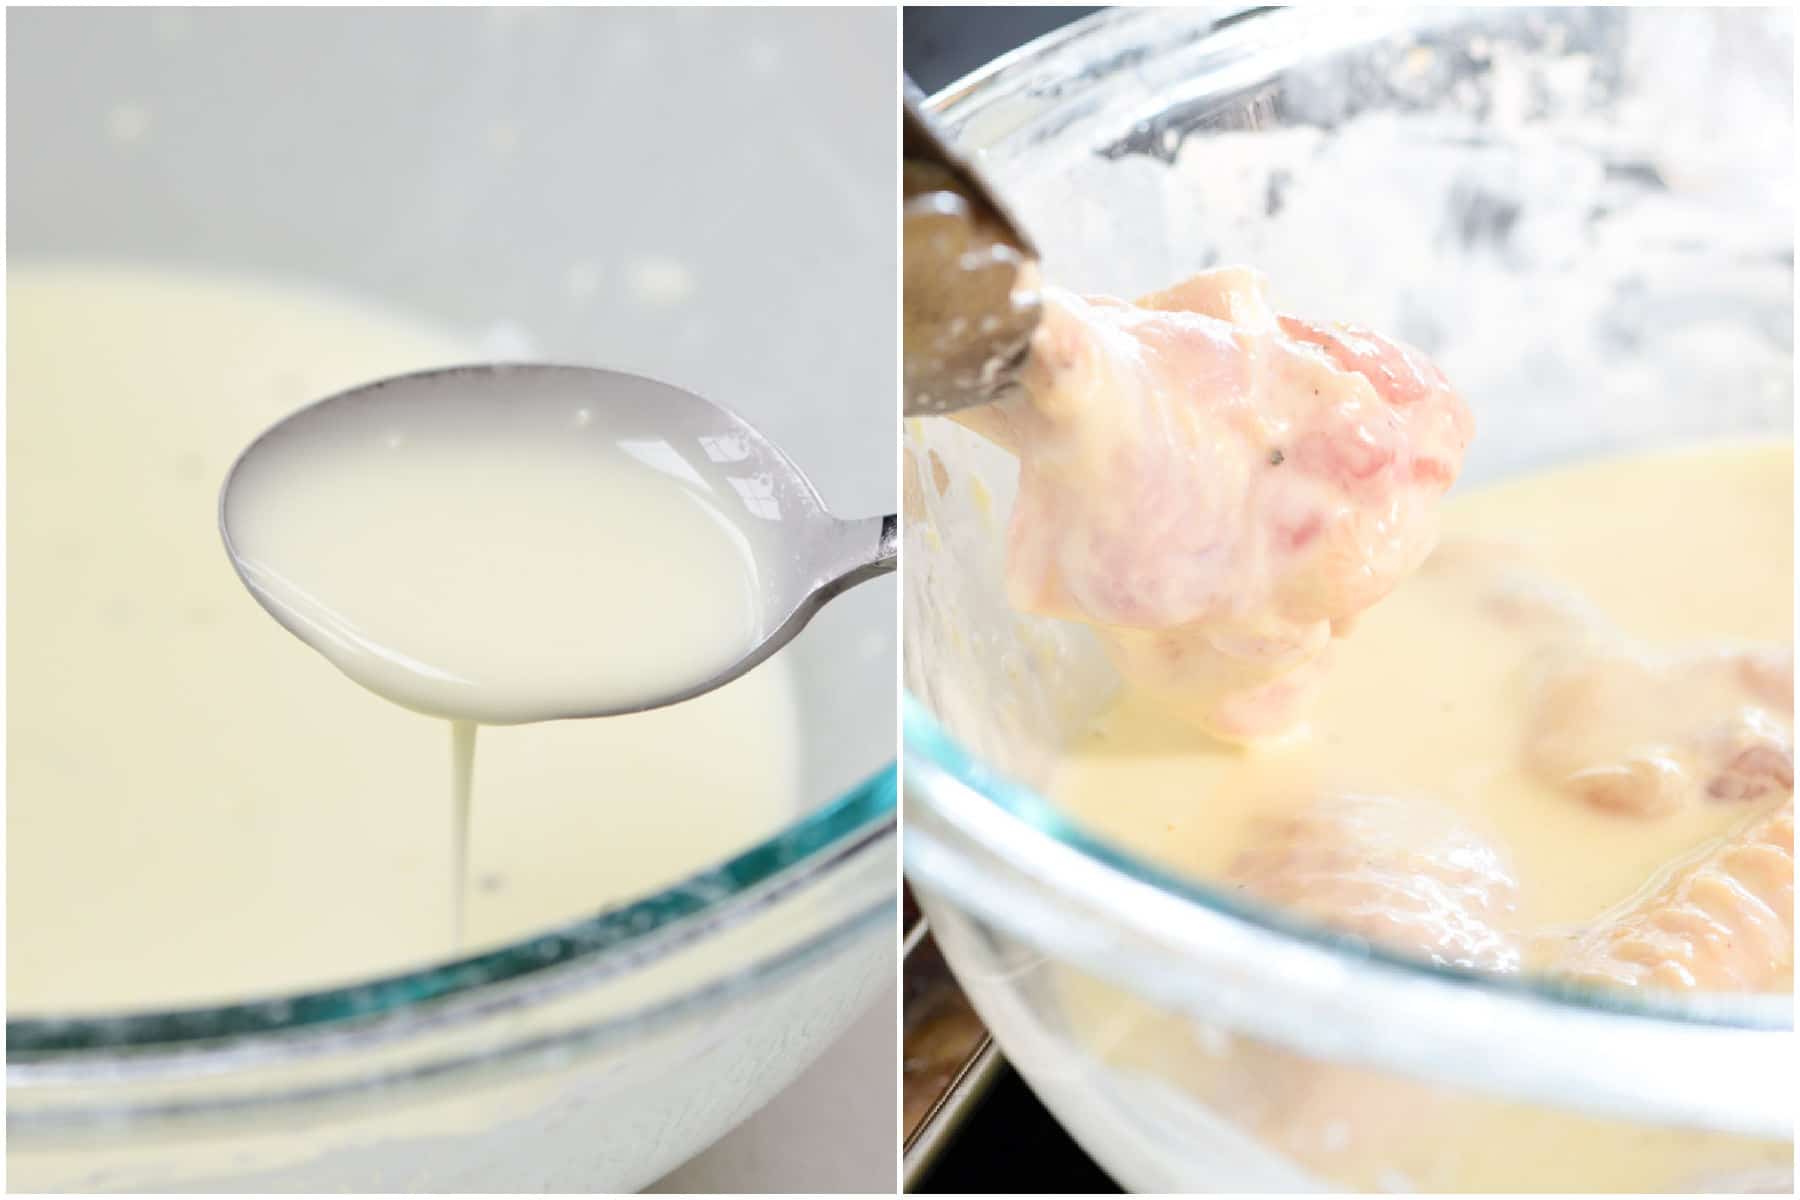
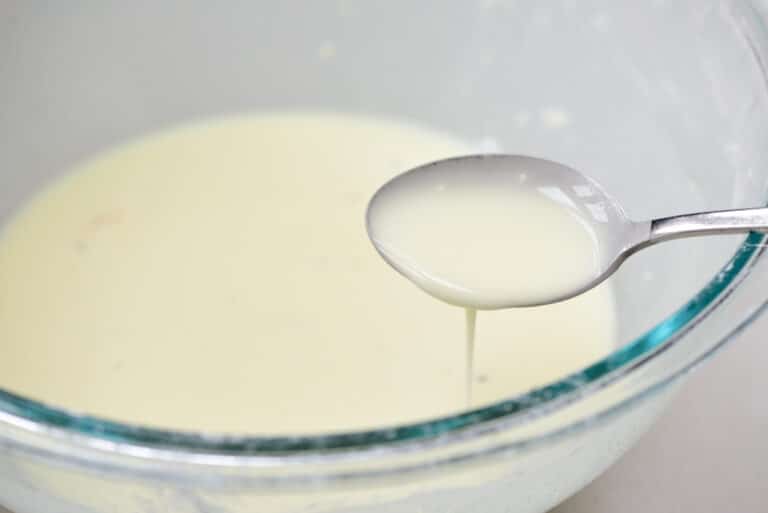
These dry ingredients mixed with the equal amount of water (3/4 cup) creates a delicately thin crust that’s deeper in color but lighter in texture than that of starch alone. You can use a little more water for a thinner crust. Likewise, use less water for a thicker crust. To create a thin crust, I don’t dredge the chicken in the dry mix before or after dipping in the wet batter.
The crust stands up very well to the sauce. Better yet, the chicken stays crunchy for several hours even after coated with the sauce. Also, since the crust is lightly seasoned from the frying mix, the fried chicken is delicious as is without the sauce.
Frying the chicken
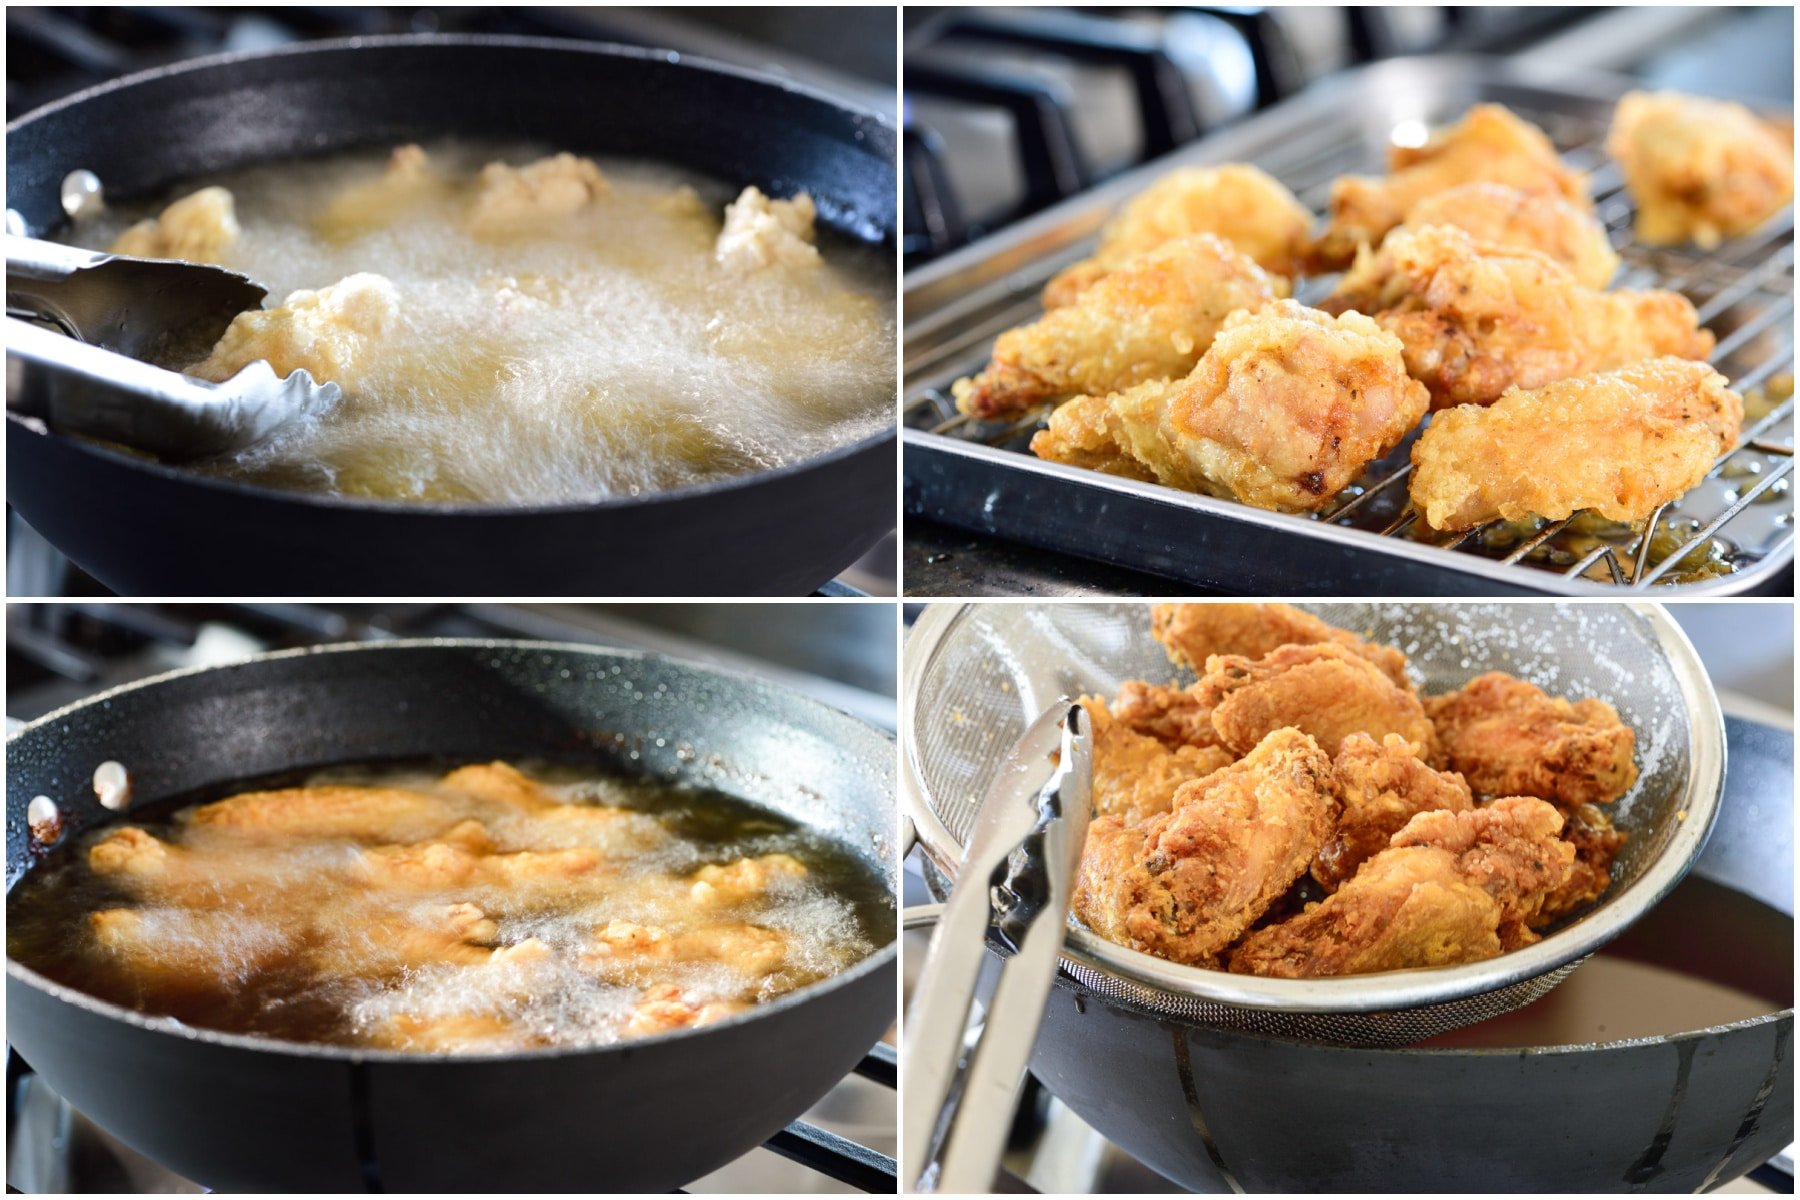
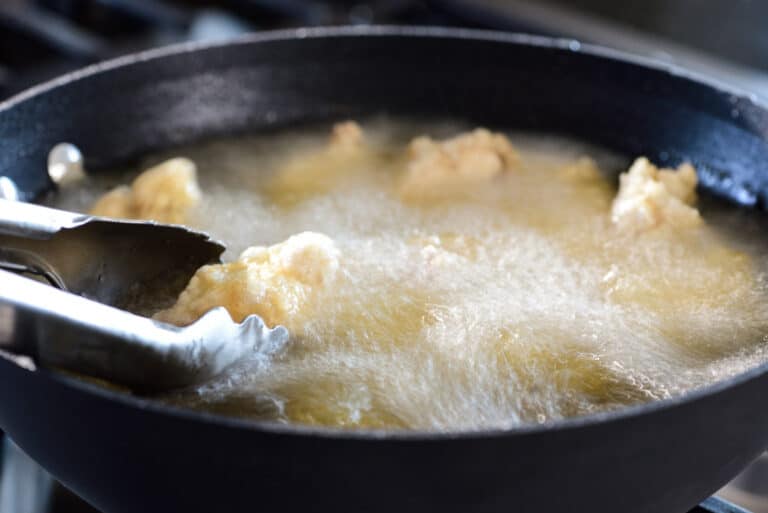
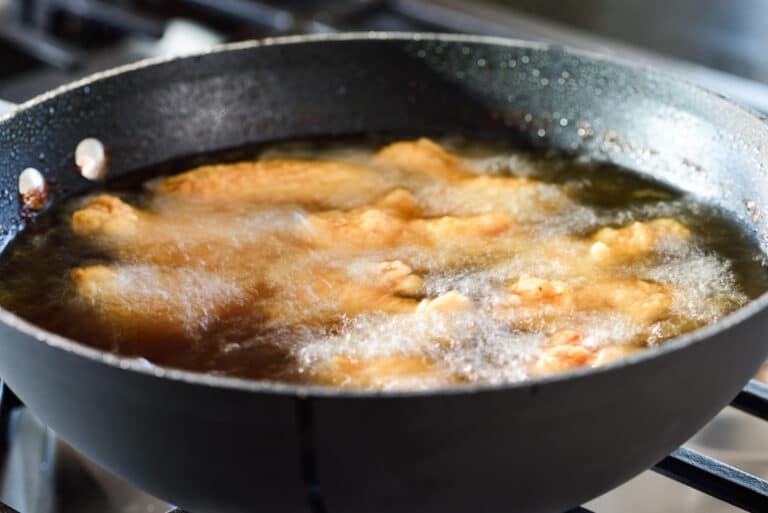
To deep-fry wings, the Korean technique usually calls for frying them at a relatively low temperature (320-330°F) and then fry them again at a higher temperature (350-360°F). Let the chicken cool down for a few minutes in between, so the remaining moisture escapes. The first frying can be done ahead of time. Fry the chicken in two batches for the first frying, but you can fry them all together for the second frying.
The sauce
Korean fried chicken largely comes in two different types of sauces – mild soy garlic and red spicy, although they are called differently in some cases. You can choose one or make both to have ban/ban (half/half).
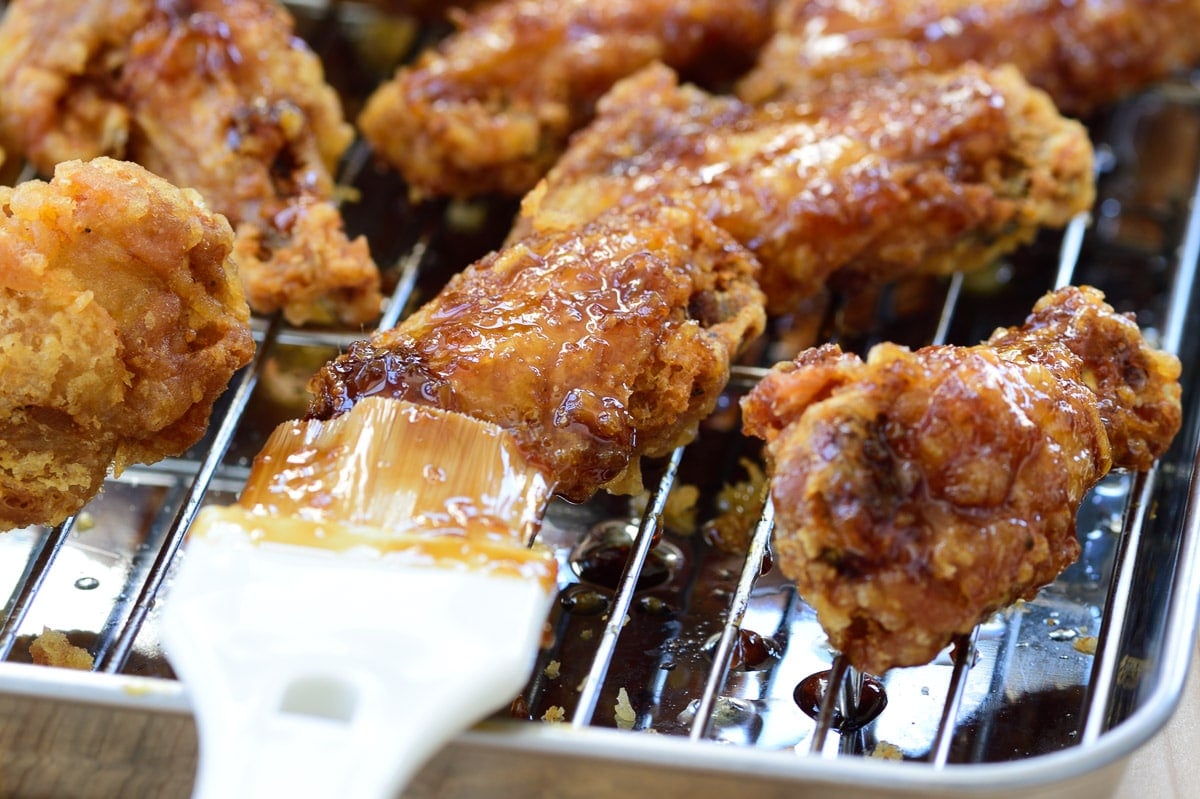
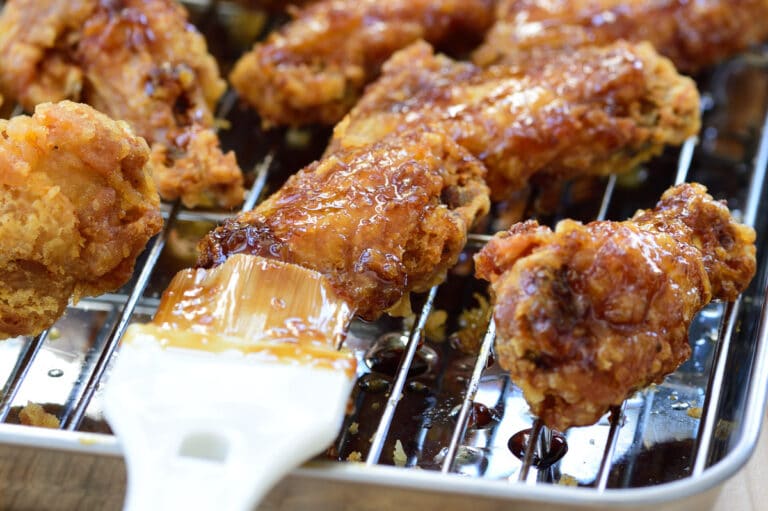
You can either toss the fried chicken pieces in the sauce or hand-brush them. The latter is what famous chicken places boast about doing in order to keep the crust crunchy longer. With the brushing method, you can also adjust the amount of the sauce on each piece to your liking.
Red spicy sauce
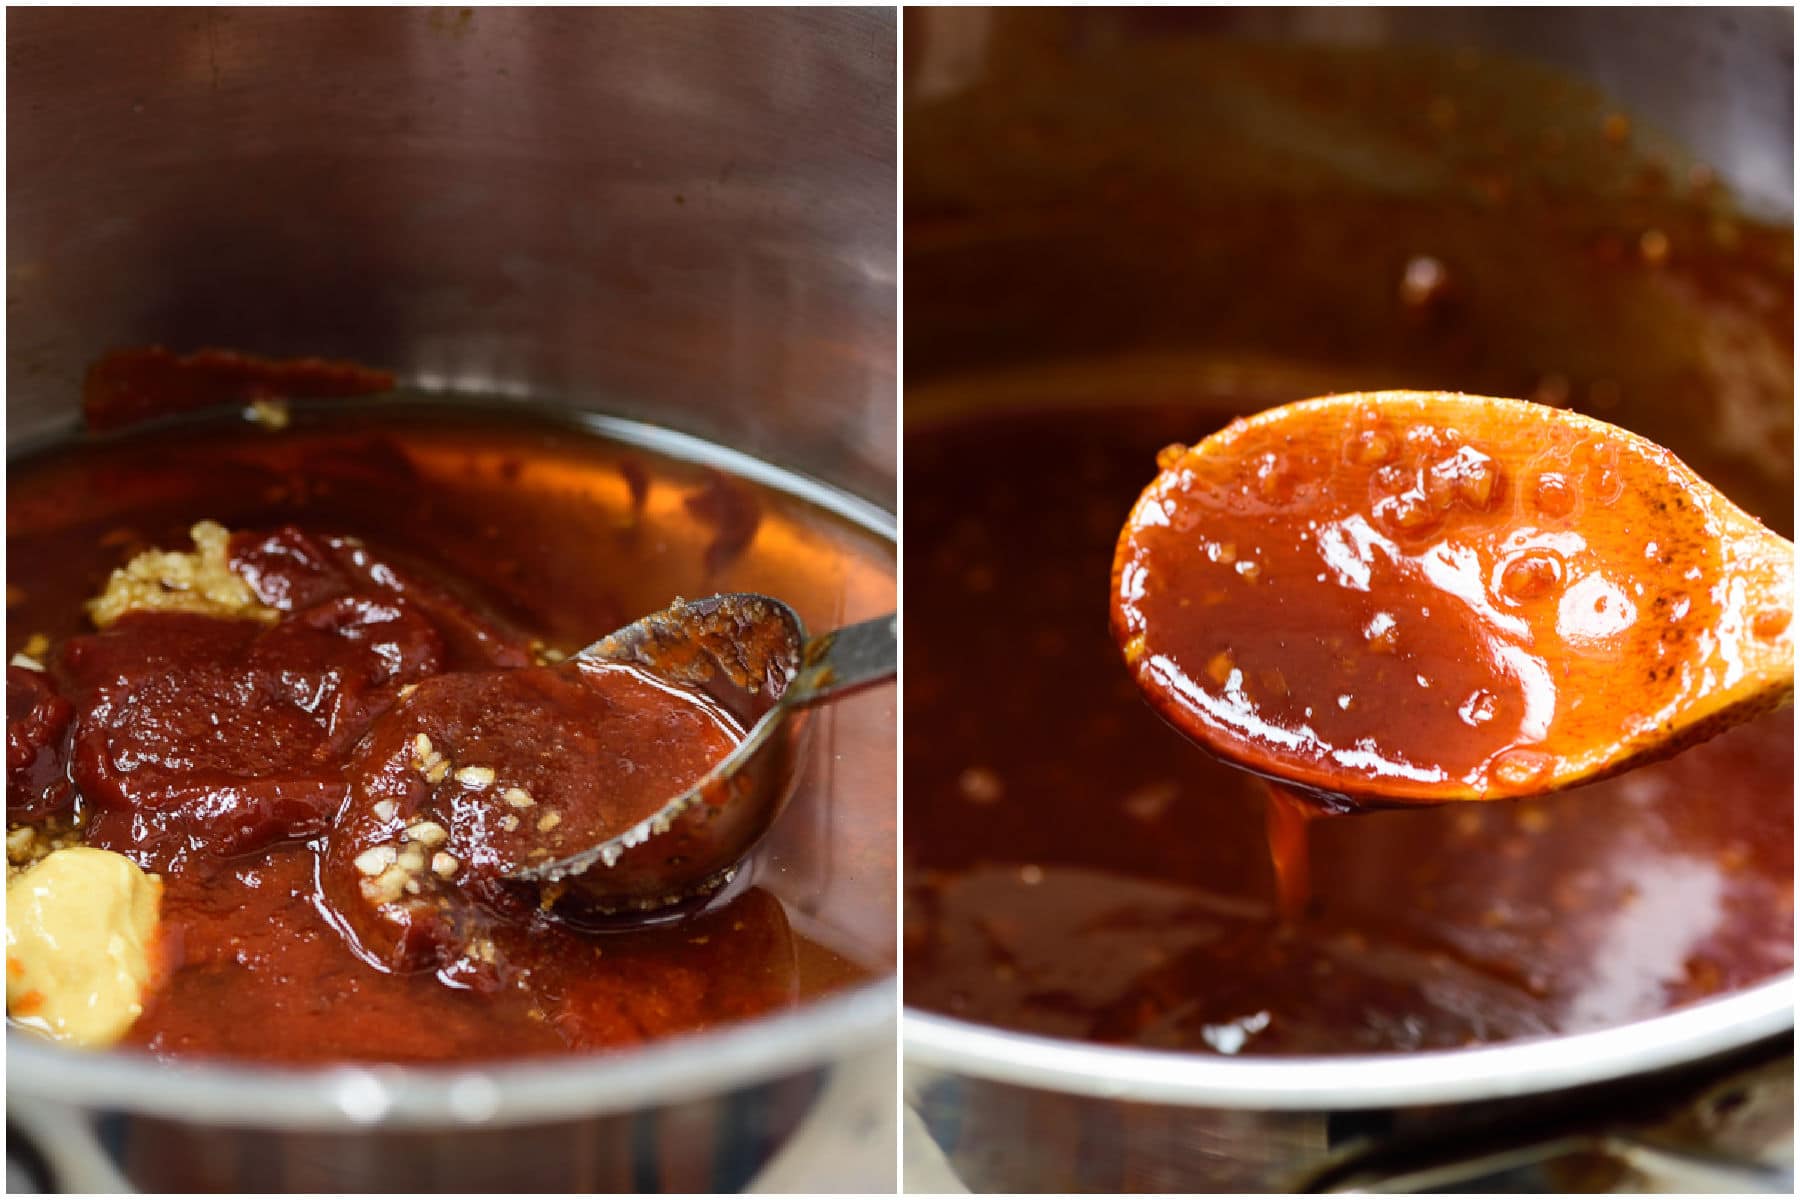
This sweet and spicy red sauce is slightly thinner and lighter than my original yangnyeom chicken sauce if you tried it. It’s not too spicy, but you can always adjust to your taste. I use gochujang along with some hot sauce for its unique tangy flavor and heat. If you don’t want to add any extra heat, use ketchup instead of hot sauce. If you’re not using a hot sauce, add some vinegar (rice, white, or apple cider).
For the sweetness, I use a combination of honey and sugar. You can use corn syrup or oligo syrup instead. Garlic is a must, but some ginger is good too if you like.
Soy garlic sauce
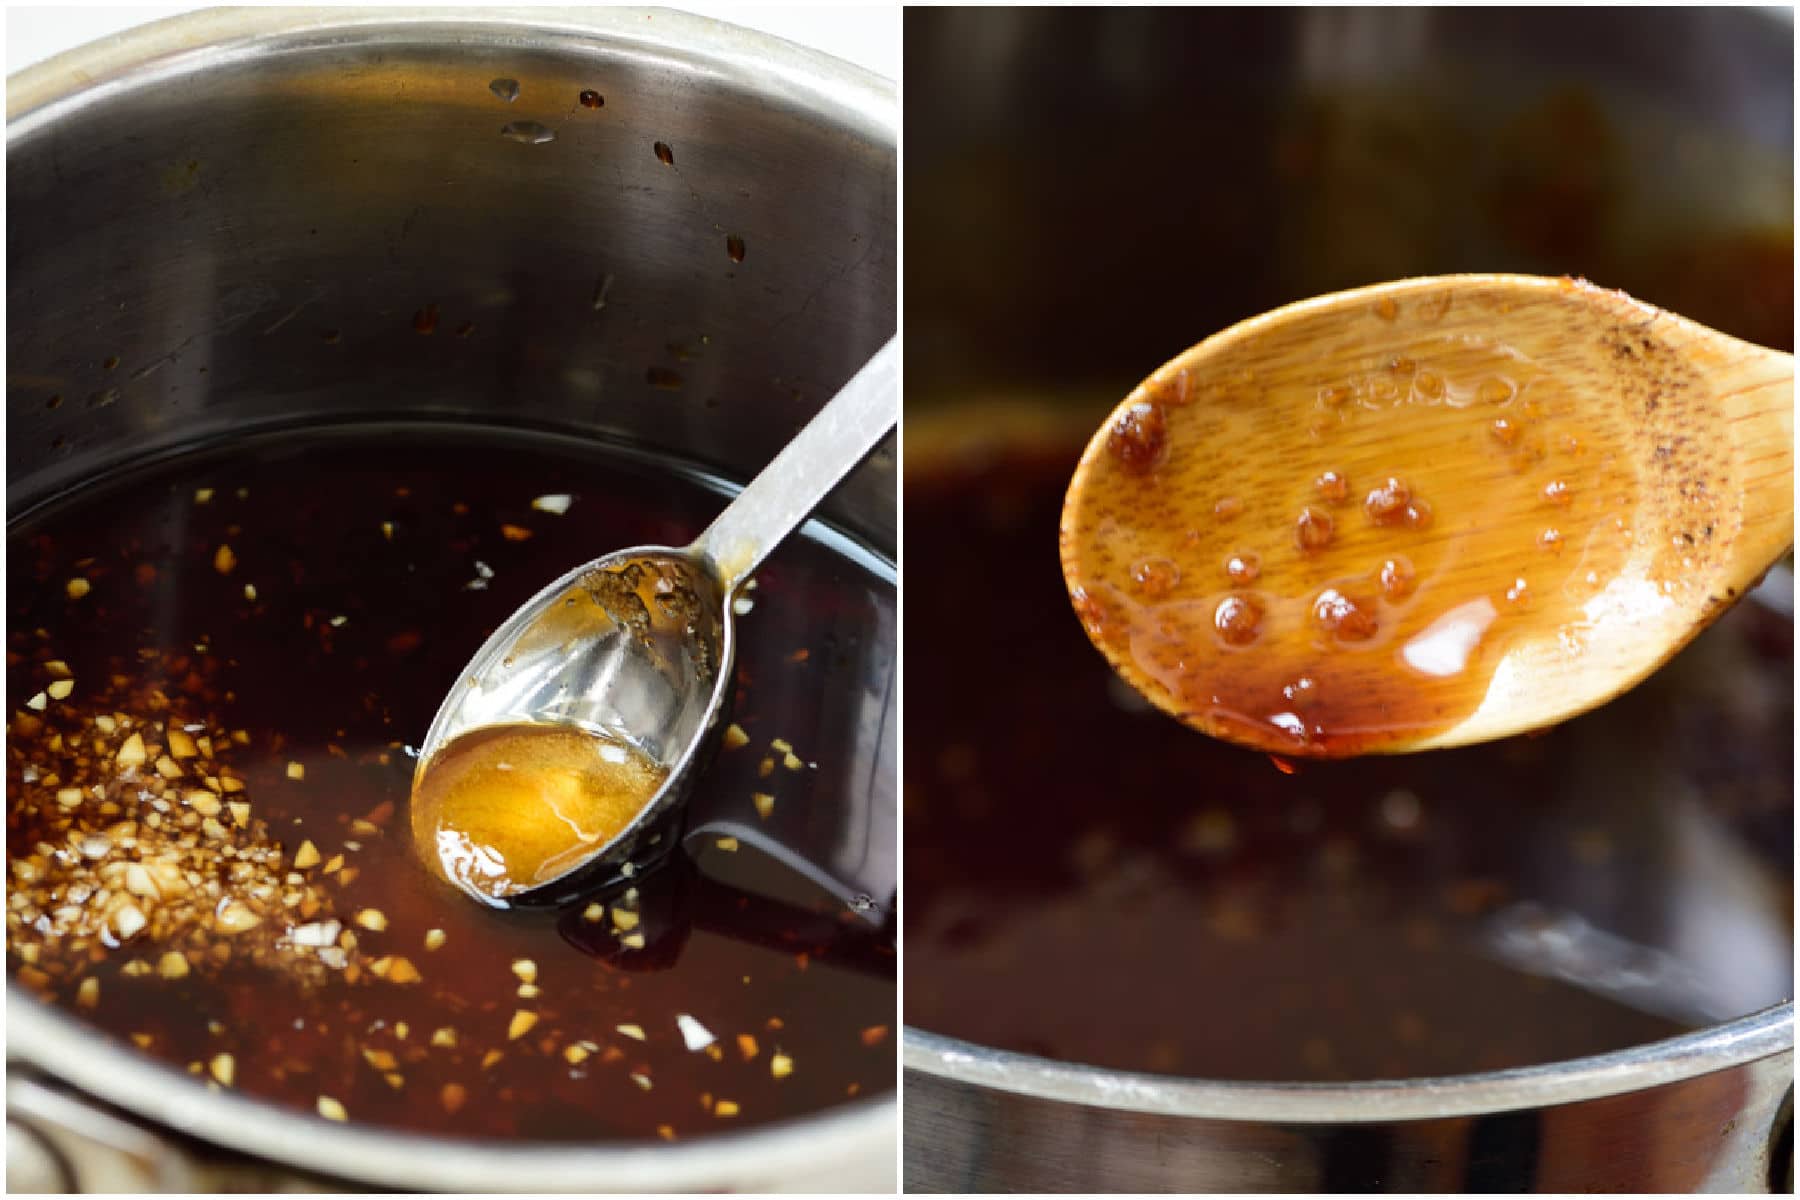
This soy sauce based sauce is great especially for those who are not a fan of spicy food. Soy sauce, honey and garlic are the prominent ingredients for this sauce that creates the crispy candid exterior when glazed on the chicken.
Watch how to make it
More Chicken Recipes
Dakgangjeong (Sweet Crispy Korean Fried Chicken)
Baked Chicken Wings
Dak Bulgogi (Chicken Bulgogi)
Dak Galbi (Spicy Stir-fried Chicken)
Jjimdak (Braised Chicken)
For more Korean cooking inspiration, follow along on YouTube, Pinterest, Twitter, Facebook, and Instagram.
Ingredients
For the chicken:
- 2 pounds chicken wings (about 16 drumettes and wingettes)
- 1.5 teaspoons salt (use 1 ts if using table salt)
- pinch black pepper (or to taste)
- 1 teaspoon grated ginger
- 4-5 cups oil for frying about 2-inch deep (use deep, bottom heavy, medium size pot or pan)
For the dry batter option
- 1/2 cup potato starch (or cornstarch)
For the wet batter option
- 1/2 cup frying mix (aka tempura mix) or all-purpose flour with 1/2 teaspoon baking powder, 1/4 teaspoon salt, and optional 1/2 teaspoon garlic powder or onion powder.
- 1/4 cup potato starch (or cornstarch)
- 3/4 cup water
For the red spicy sauce (See note 1)
- 1 tablespoon soy sauce
- 2 tablespoons rice wine (or mirin) or other cooking wine
- 1 tablespoon or 1.5 tablespoons gochujang
- 1 tablespoon or 2 tablespoons hot sauce (sriracha, tabasco, Franks Original, etc.) You can use 2 Tbs ketchup instead along with a teaspoon vinegar, if you don't want extra heat.
- 2 tablespoons sugar
- 2 tablespoons honey (or 2.5 tablespoons corn syrup, rice syrup, or oligo syrup)
- 1 tablespoon minced garlic
- 1/2 teaspoon honey dijon mustard - optional
- 4 tablespoons water
For the soy garlic sauce
- 2 tablespoons soy sauce
- 2 tablespoons rice wine (or mirin or other cooking wine)
- 2 tablespoons sugar
- 2 tablespoons honey (or 2.5 tablespoons corn syrup, rice syrup, or oligo syrup)
- 1 tablespoon minced garlic
- 1 teaspoon vinegar (white, rice, apple cider, etc.)
- 1 teaspoon or 2 teaspoons oyster sauce - optional
- 4 tablespoons water
For the optional garnish:
- 1/2 teaspoon sesame seeds
- 1 tablespoon chopped scallion
Instructions
- Wash chicken wings, and drain thoroughly. Mix with the salt, pepper, and ginger. Let it sit in the fridge for 2 hours or longer (overnight to 24 hours).
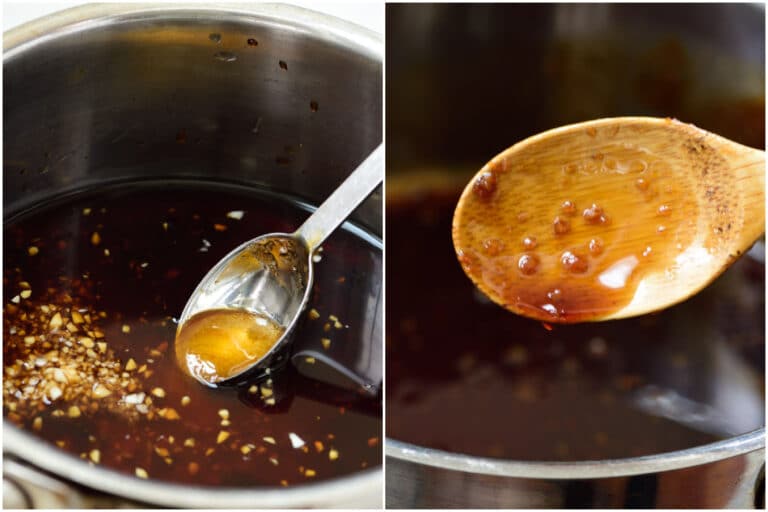
- Combine all the sauce ingredients of your choice and stir well. Boil over medium heat until it thickens slightly, about 4 to 5 minutes. Turn the heat off.
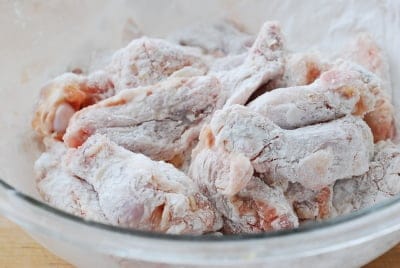
- OPTION 1 Dry batter: If using the starch only, add the potato (or cornstarch) to the chicken, and rub it onto each wing well to coat evenly. Set aside.
- OPTION 2 Wet batter: Mix the wet batter ingredients in a bowl, and stir well until smooth with no visible lumps.
- Add the oil to a deep fryer, wok, or large pot. Heat the oil to 320°F (up to 330°F). Drop the chicken in the oil, one piece at a time. If using wet batter, dip each piece in the wet batter with tongs and shake off excess batter before dropping the chicken in the oil. Fry them in two batches. Cook until lightly golden, about 6 minutes, depending on the size of the chicken wings. Remove them with a wire skimmer or a slotted spoon. Drain on a wire rack or in a large mesh strainer set on a bowl.
- Reheat the oil to 350°F (up to 360°F). Add the chicken (you can do this in one batch for the second frying), and deep fry again, for about 5 minutes, until golden brown. Drain on a wire rack or in a large mesh strainer set on a bowl.
- You can either toss the fried chicken pieces in the sauce or hand-brush them. Sprinkle with the optional sesame seeds or chopped scallion to serve.
Notes
- 2 tablespoons grated onion
- 1 tablespoon minced garlic
- 1 teaspoon finely grated ginger
- 1 tablespoon soy sauce
- 4 tablespoons rice wine (or mirin)
- 2 - 3 tablespoons hot sauce (I used Frank’s Original)
- 4 tablespoons chili sauce or ketchup
- 2 tablespoons gochujang
- 2 tablespoons corn syrup or honey
- 1 tablespoon sugar
- 1 teaspoon sesame oil
The original Yangnyeom Chicken recipe was posted in Feb 2015. I’ve make significant revisions to update the recipe with different batter and sauce options.


